Act 1: Hello Django
Start at our first-django-admin directory.
mkdir first-django-admin
cd first-django-admin
Create a new development environment with pipenv, specifying the version of python:
pipenv --python=python3
Then activate it (it’s like turning on the power):
pipenv shell
Use pipenv on the command line to install Django, a Python “framework”
we’ll use to put together our website.
pipenv install Django
Now use Django’s django-admin command to create a new “project” that will be organized according to the framework’s rules.
django-admin startproject project
Now jump into the project and we’ll start setting it up.
cd project
:::{note}
Run the ls command (dir on Windows), which lists the files in your current location. Wonder what all those weird files are in your new directory? We’ll only need a couple for this tutorial, but you can read about all of them in the official Django documentation.
:::
There is a lot of configuration that could be done at this point, but we’re going to advance with all of the Django defaults in place.
The first step is creating your database, which will appear as a new SQLite file named db.sqlite3.
To do that, we will start using the manage.py file created by startproject. It is a utility belt we can use to make Django a wide range of things. The command we want now, migrate, can create database tables.
python manage.py migrate
Fire up Django’s built-in web server.
python manage.py runserver
Visit localhost:8000 in your browser to see Django in action. Here’s what you should see.
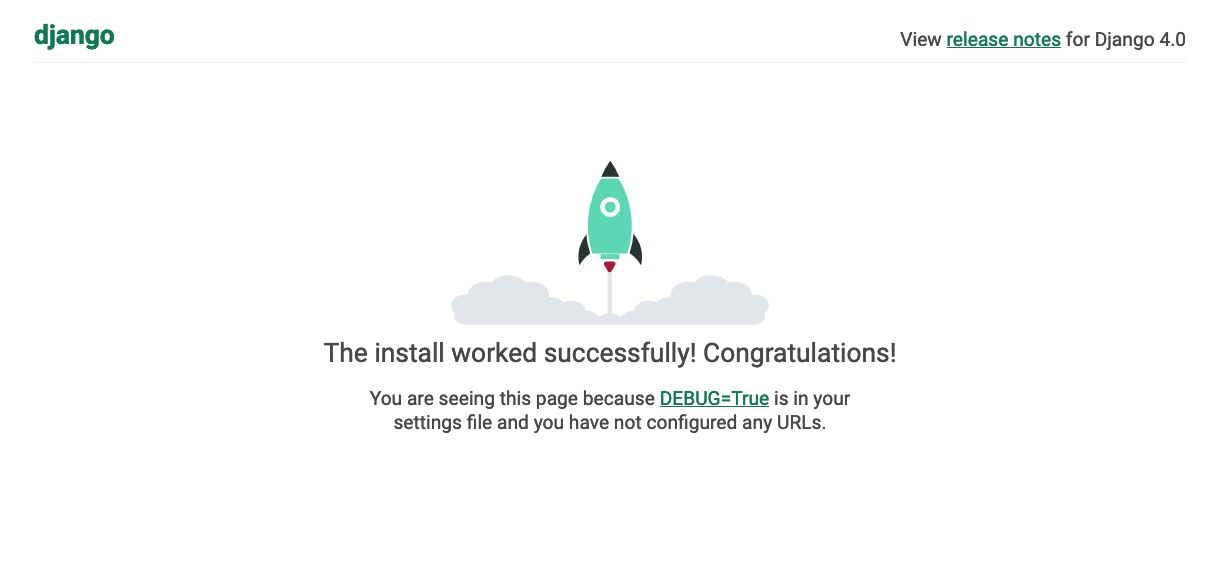
Congratulations. You’ve installed Django and have a blank site started up and running. Now the real work begins.