GitHub Codespaces
If you want to get started quickly without installing anything on your computer, you can use GitHub Codespaces to work through this class entirely in your browser.
Codespaces provides a complete, pre-configured coding environment in the cloud. It runs Visual Studio Code with Python, Jupyter notebooks and all the libraries you need.
Note
GitHub offers a free tier that includes a limited number hours of usage per month. If you’re a university student, you may be able to get greater access through the GitHub Student Developer Pack.
Either way, the free tier should be more than enough for this class. All you need is a free GitHub account to use it.
Open a codespace
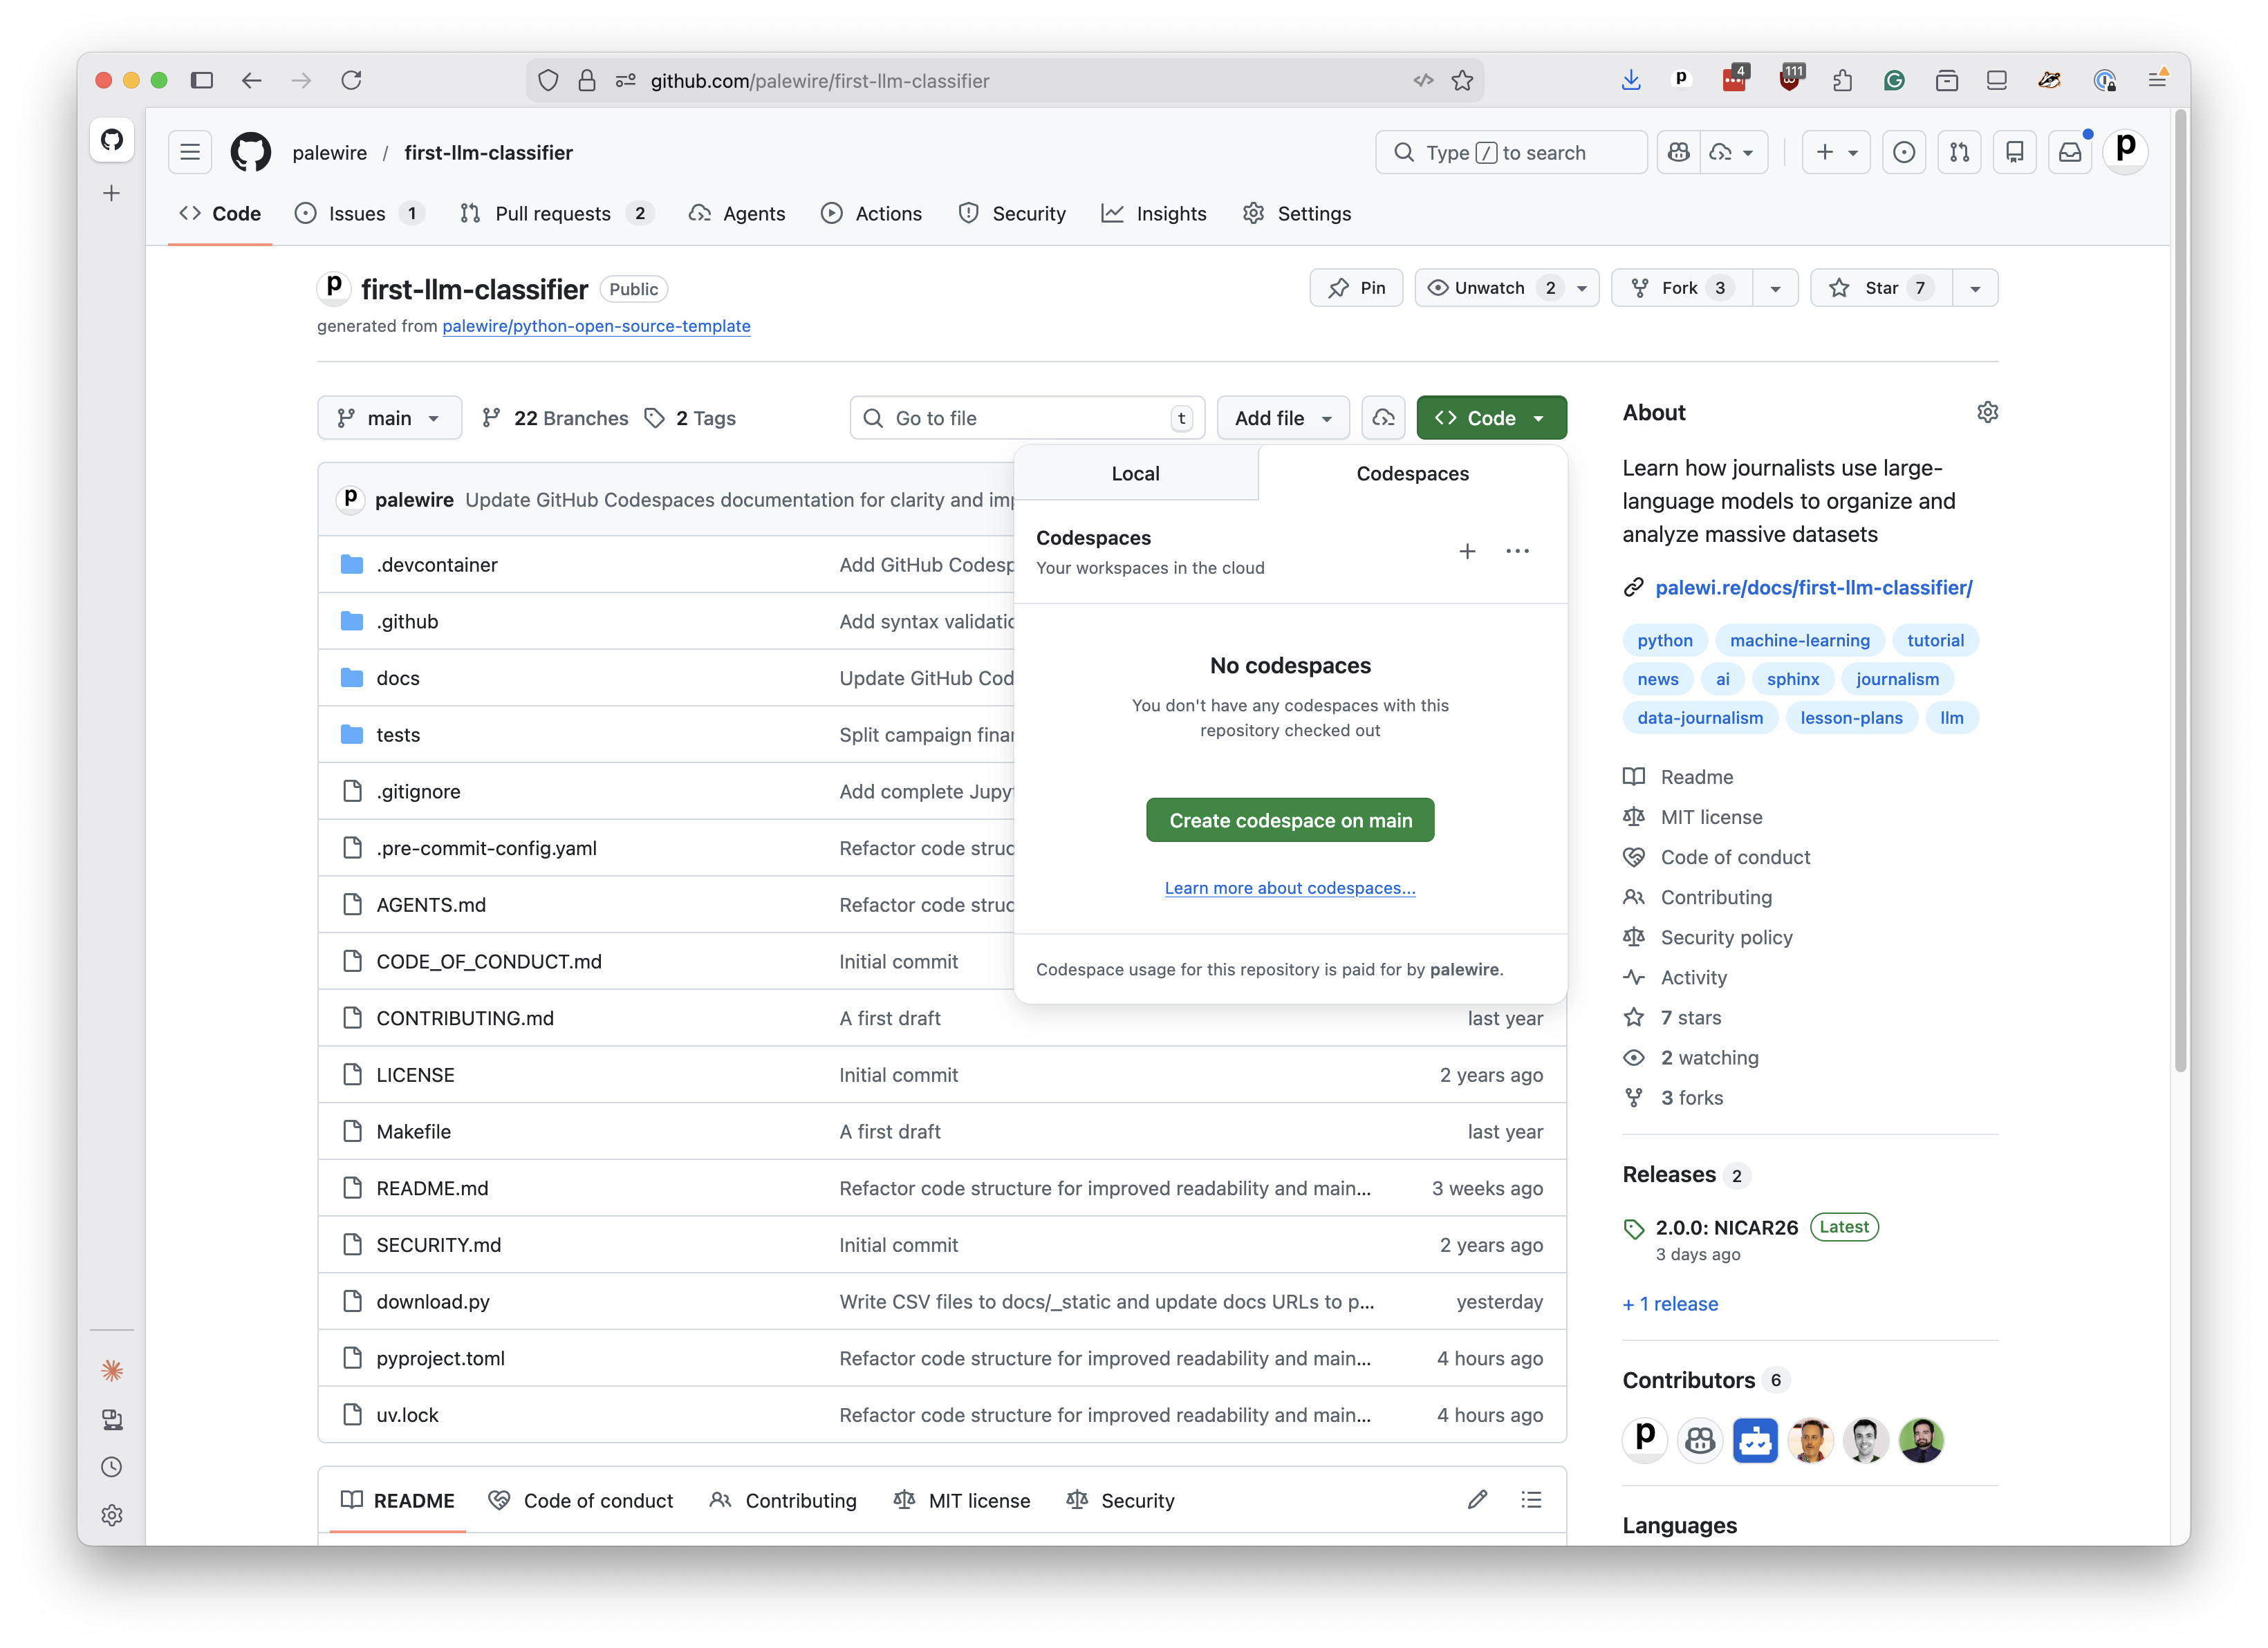
Visit this class’s repository at github.com/palewire/first-llm-classifier. Click the green “Code” button and select the “Codespaces” tab. Then click “Create codespace on main.”
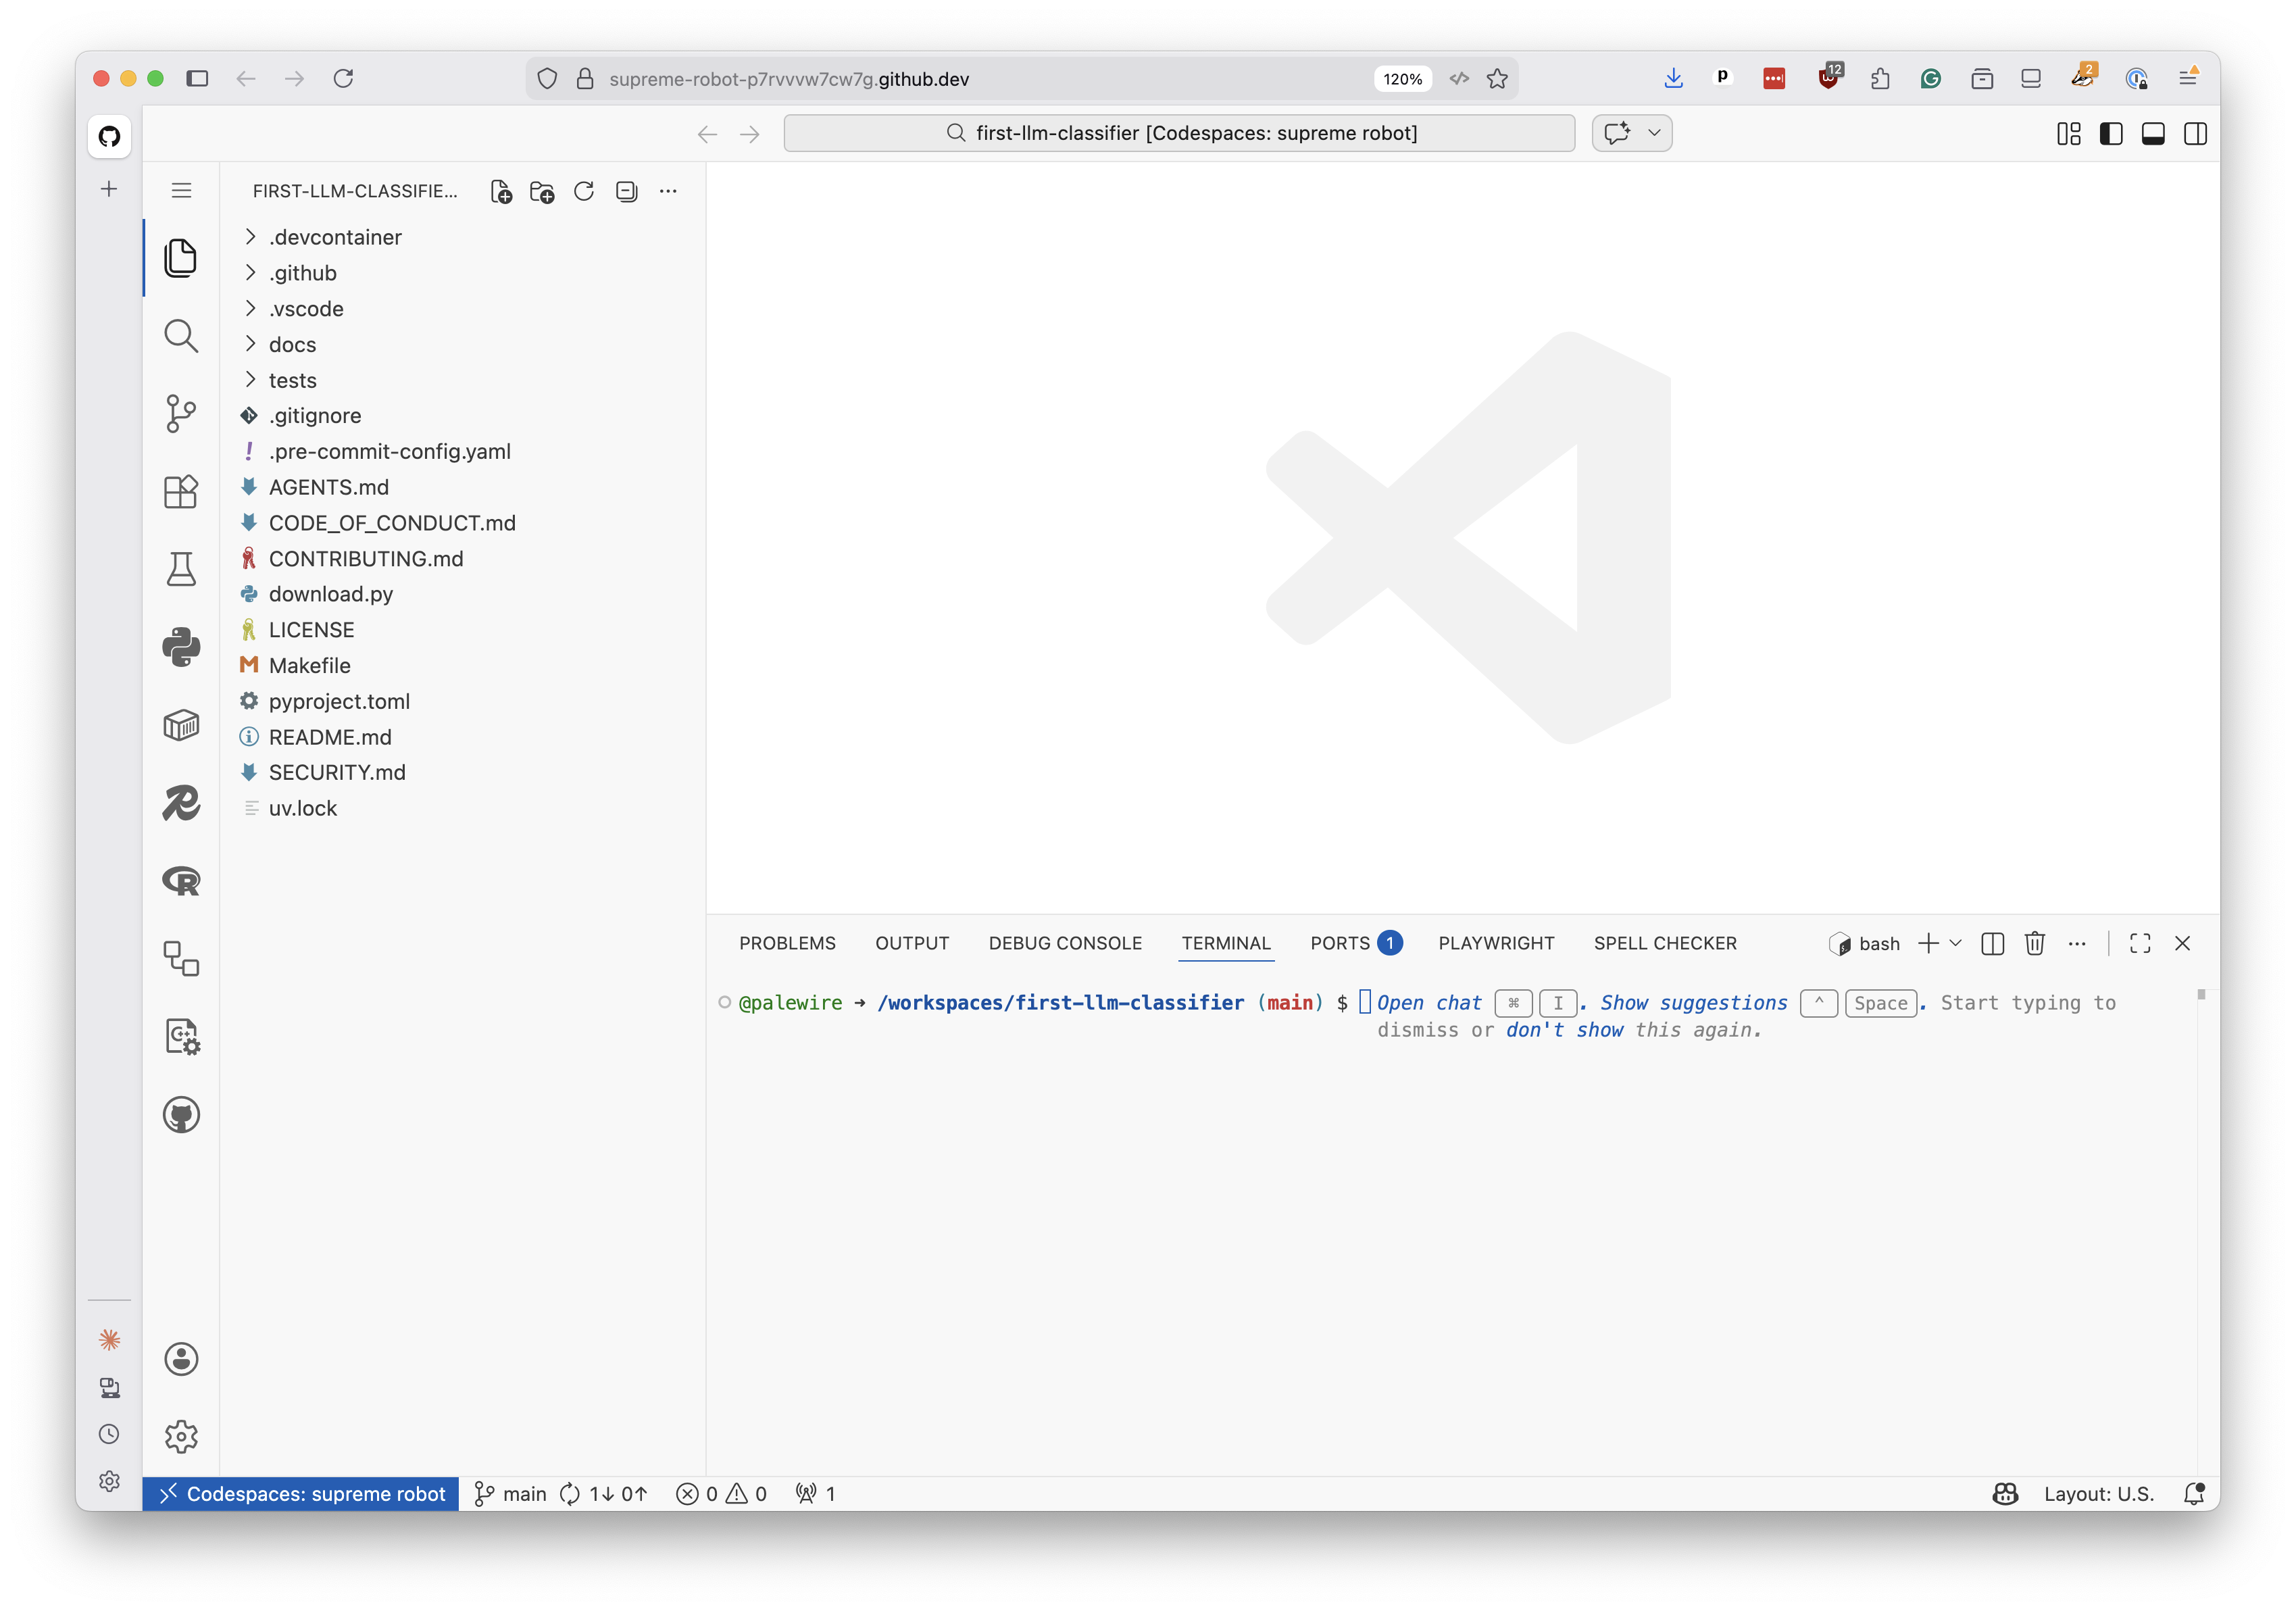
It will take a minute or two to build your environment. When it’s ready, you’ll see a full Visual Studio Code editor in your browser with everything pre-installed. A terminal will be open at the bottom of the screen.
Open your first notebook
Click “File” in the menu bar and select “New File…” from the dropdown. In the browser based version of Codespaces, the “File” menu is located in the upper left corner of the screen, where you need to click on the icon with three horizontal lines.
When prompted to choose a file type, select “Jupyter Notebook.”
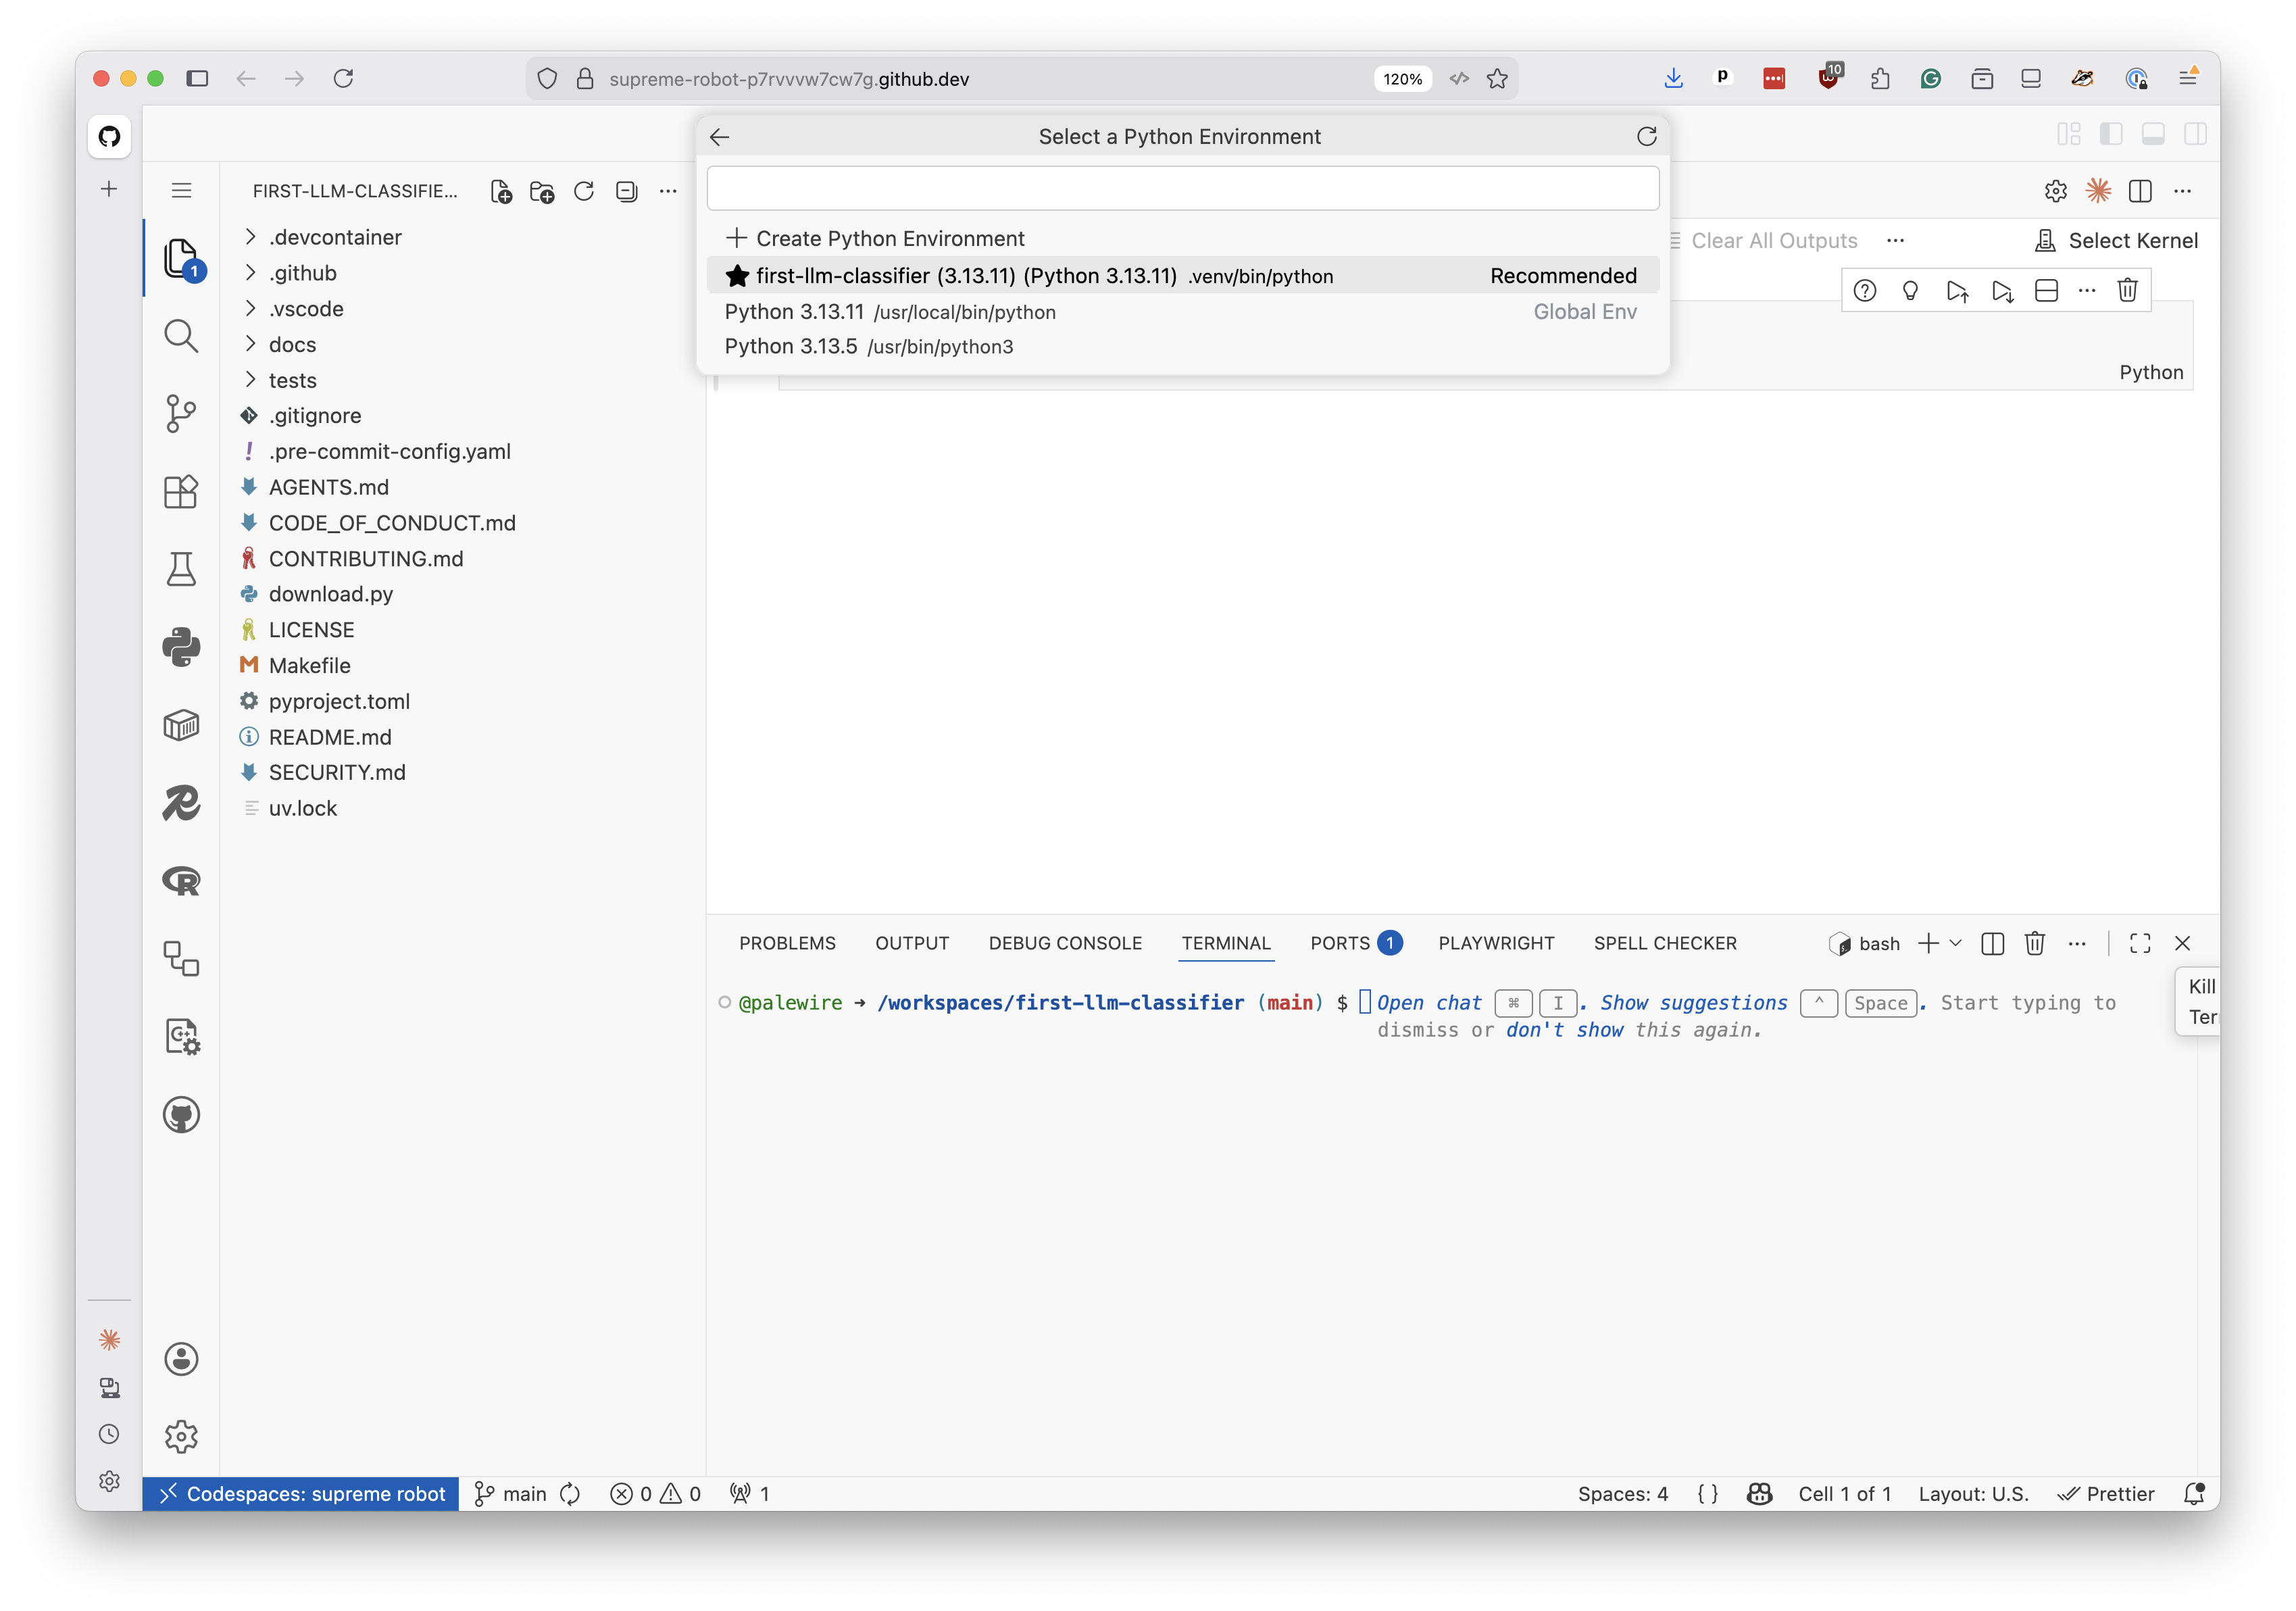
You will see a prompt in the upper right corner that says “Select Kernel.” A popup will appear. Select “Python Environments…” and then choose the option that includes .venv. It probably has a name that includes “first-llm-classifier.”
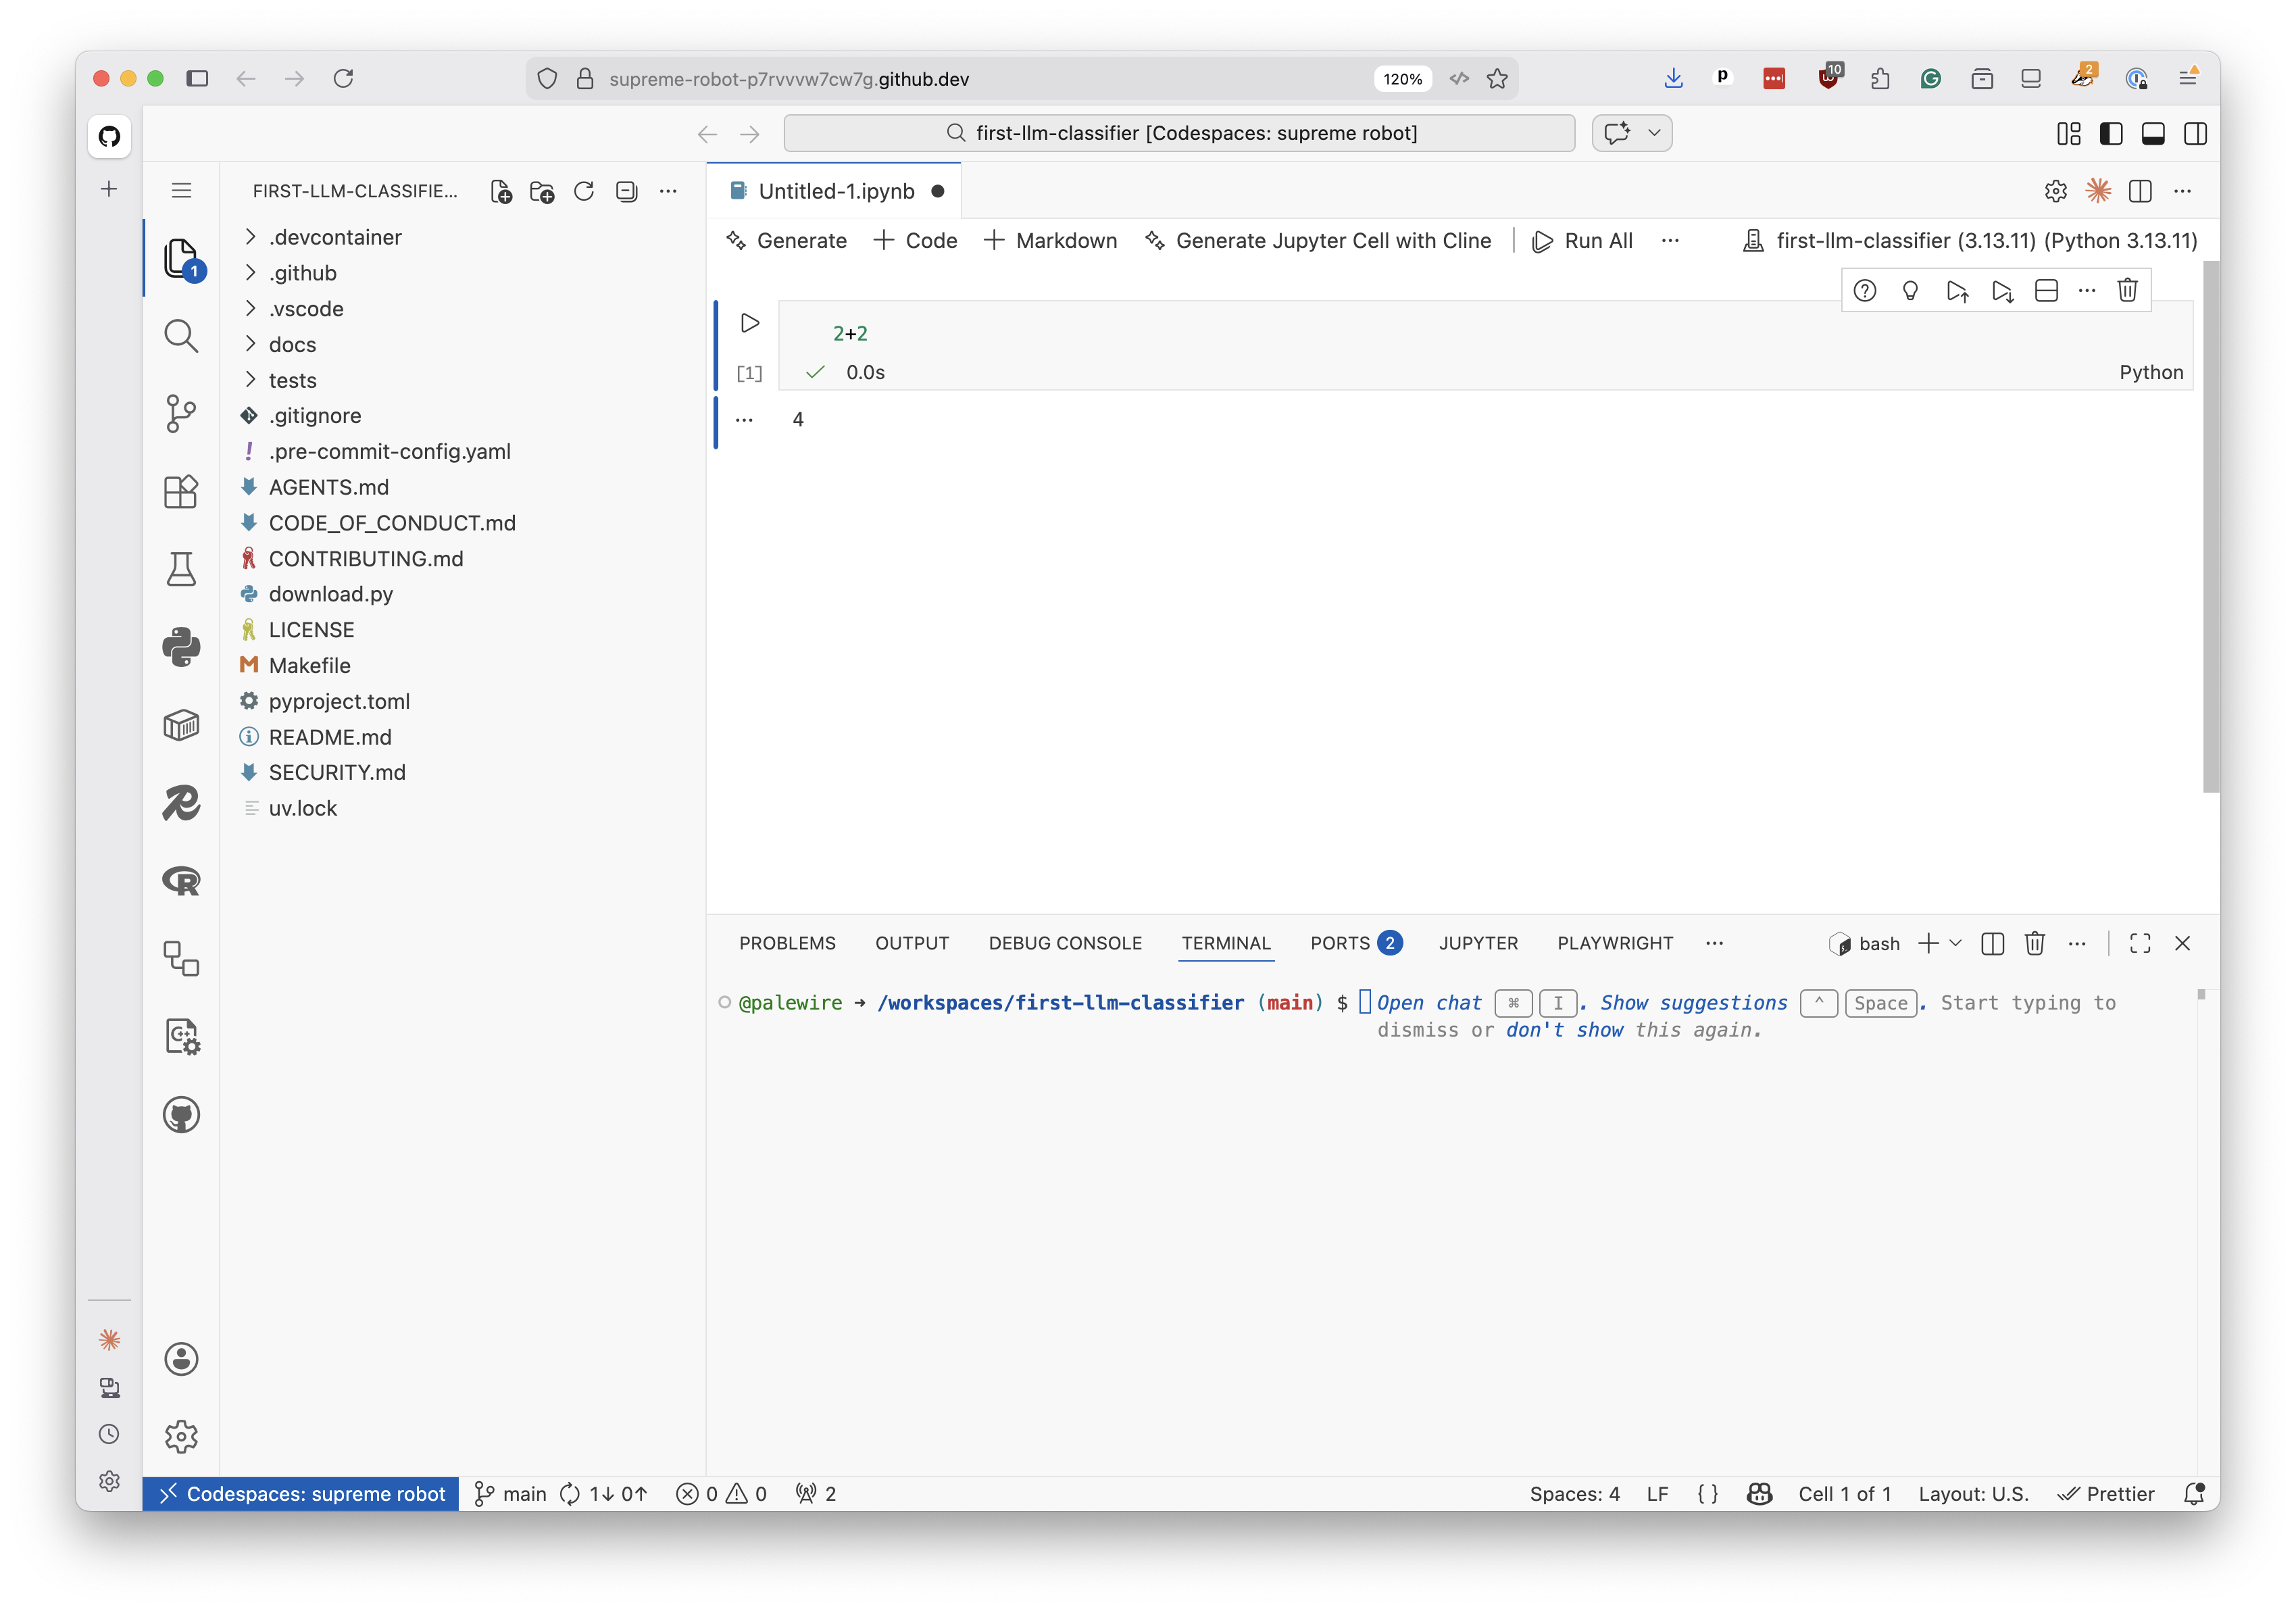
Welcome to your first notebook. Let’s make sure everything is working.
Click on the first cell, type the following and hit the play button to the left of the cell, or press Shift+Enter:
2+2
You should see the number 4 appear below the cell.
If so, congratulations. You’re all set up and ready to move on to writing code. Jump into our chapter on prompting with Python to get started.