14. Advanced installation
While there are numerous ways to install and configure Jupyter notebooks, advanced users like to take advantage of Python’s power tools to have more control over when and where code is installed on their system.
This guide will demonstrate how to install everything your computer needs to play like the pros.
14.1. A command-line interface
Whether you know about it or not, there should be a way to open a window and directly issue commands to your operating system. Different operating systems give this tool slightly different names, but they all have some form of it.
On Windows this is called the “command prompt.” On MacOS it is called the “terminal.” Other people will call this the “command line.”
On Windows, we recommend you install the Windows Subsystem for Linux and select the Ubuntu distribution from the Windows Store. This will give you access to a generic open-source terminal without all the complications and quirks introduced by Windows. On MacOS, the standard terminal app will work fine.
14.2. Python 3.6 or higher
Python is a free and open-source computer programming language. It’s one of the most popular in the world and praised by its supporters as clear and easy to read.
That makes it ideal for beginners and is partly why it’s been adopted by professionals in many fields, ranging from engineering and web development to journalism and music.
You can check if Python is already installed on your computer by visiting your command line and entering the following:
python --version
You should see something like this after you hit enter:
Python 3.6.10
If not, you’ll need to install Python on your system.
If you see a number starting with 2, like say …
Python 2.7.12
…then you have an outdated version of Python and will need to upgrade to a version starting with a 3. You can probably complete the class without doing so, but the maintainers of Python are gradually phasing out version 2 and officially recommend you upgrade.
Instructions for both new installations and upgrades can be found here.
14.3. The pipenv environment manager
Our notebook depends on a set of Python tools that we’ll need to install before we can run the code. They are the JupyterLab computational notebook, the requests library for downloading webpages and BeautifulSoup, a handy utility for parsing data out of HTML.
By default, Python’s third-party packages are all installed in a shared “global” folder somewhere in the depths of your computer. By default, every Python project on your computer draws from this same set of installed programs.
This approach is fine for your first experiments with Python, but it quickly falls apart when you start to get serious about coding.
For instance, say you develop a web application today with Flask version 1.1. What if, a year from now, you want to start a new project and use a newer version of Flask? Your old app is still live and requires occasional patches, but you don’t have time to re-write all of your old code to make it compatible with the latest version of Flask.
Open-source projects are changing every day and such conflicts are common, especially when you factor in the sub-dependencies of your project’s direct dependencies, as well as the sub-dependencies of those sub-dependencies.
Programmers solve this problem by creating a virtual environment for each project that isolates them into discrete, independent containers that do not rely on code in the global environment.
Strictly speaking, working within a virtual environment is not required. At first, it might even feel like a hassle. But in the long run, you will be glad you did it. And you don’t have to take my word for it, you can read discussions on StackOverflow and Reddit.
Good thing pipenv can do this for us.
Pipenv and its prerequisites are installed via your computer’s command-line interface. You can verify it’s there by typing the following into your terminal:
pipenv --version
If you have it installed, you should see the terminal respond with the version on your machine.
pipenv, version 2018.11.26
If you get an error, you will need to install it.
If you are on a Mac, Pipenv’s maintainers recommend installing via Homebrew:
brew install pipenv
If you are on Windows and using the Windows Subsystem for Linux, you can install Linuxbrew and use it to install Pipenv.
If neither option makes sense for you, Pipenv’s docs recommend a user install via pip:
pip install --user pipenv
Whatever installation route you choose, you can confirm your success by testing for its version again:
pipenv --version
If you see that version number now, you know you’re okay.
14.3.1. Create a code directory
Now let’s create a common folder where all of your projects will be stored starting with this one. This is also where our virtualenv will be configured.
Depending on your operating system and personal preferences, open up a terminal program. It will start you off in your computer’s home directory, just like your file explorer. Enter the ls command and press enter to see all of the folders there now.
ls
Now let’s check where we are in our computer’s file system. For this we’ll use a command called pwd, which stands for present working directory. The output is the full path of your location in the file system, something like /Users/palewire/.
pwd
Use the mkdir command to create a new directory for your code. In the same style as the Desktop, Documents and Downloads folders included by most operating system, we will name this folder Code.
mkdir Code
To verify that worked, you can open in your file explorer and navigate to your home folder. Now jump into the Code directory, which is the same as double clicking on a folder to enter it in your filesystem navigator.
cd Code
14.3.2. Create a project directory
Now let’s make a folder for your work in this class.
mkdir first-python-notebook
Then, jump into that project directory:
cd first-python-notebook
This is where you’ll store a local copy of all the code and files you create for this project.
It isn’t necessary to change directories one level at a time. You can also specify the full path of directory you want to change into. For instance, from your home directory you could run the following to move directly into your project directory.
cd Code/first-python-notebook
14.3.3. Install your first package
Now let’s install a simple Python package to see pipenv in action. We’ll choose yolk3k, a simple command-line tool that can list all your installed python packages.
We can add it to our project’s private virtual environment by typing its name after Pipenv’s install command.
pipenv install yolk3k
When you invoke Pipenv’s install command, it checks for an existing virtual environment connected to your project’s directory. Finding none, it creates one, then installs your packages into it.
As a result, two files are added to your project directory: Pipfile and Pipfile.lock. Open these files in a text editor and you’ll see how they describe your project’s Python requirements.
In the Pipfile, you’ll see the name and exact version of any package we directed Pipenv to install. We didn’t specify an exact version, so you’ll see:
[packages]
yolk3k = "*"
Pipfile.lock has a more complicated, nested structure that specifies the exact version of your project’s direct dependencies along with all their sub-dependencies.
Now that yolk is installed, we can execute it inside our environment using the pipenv run command. Let’s use it to see yolk3k’s method for listing all of our currently installed tools.
pipenv run yolk -l
You should see the computer spit out everything you have installed. You’ll notice that yolk3k is on the list.
14.4. Python packages
Next we will install the extra Python packages used during the tutorial.
We will return to pipenv and use it to install JupyterLab, the web-based interactive development environment for Jupyter notebooks, code and data.
pipenv install jupyterlab
We’ll install pandas the same way:
pipenv install pandas
Install altair too.
pipenv install altair
Note
You can install more than one package at once. For instance, all three of the packages above could be added like so:
pipenv install jupyterlab pandas altair
14.5. Your first notebook
Now we can use pipenv’s run command to start JupyterLab from your terminal.
pipenv run jupyter lab
That will open up a new tab in your default web browser that looks something like this:
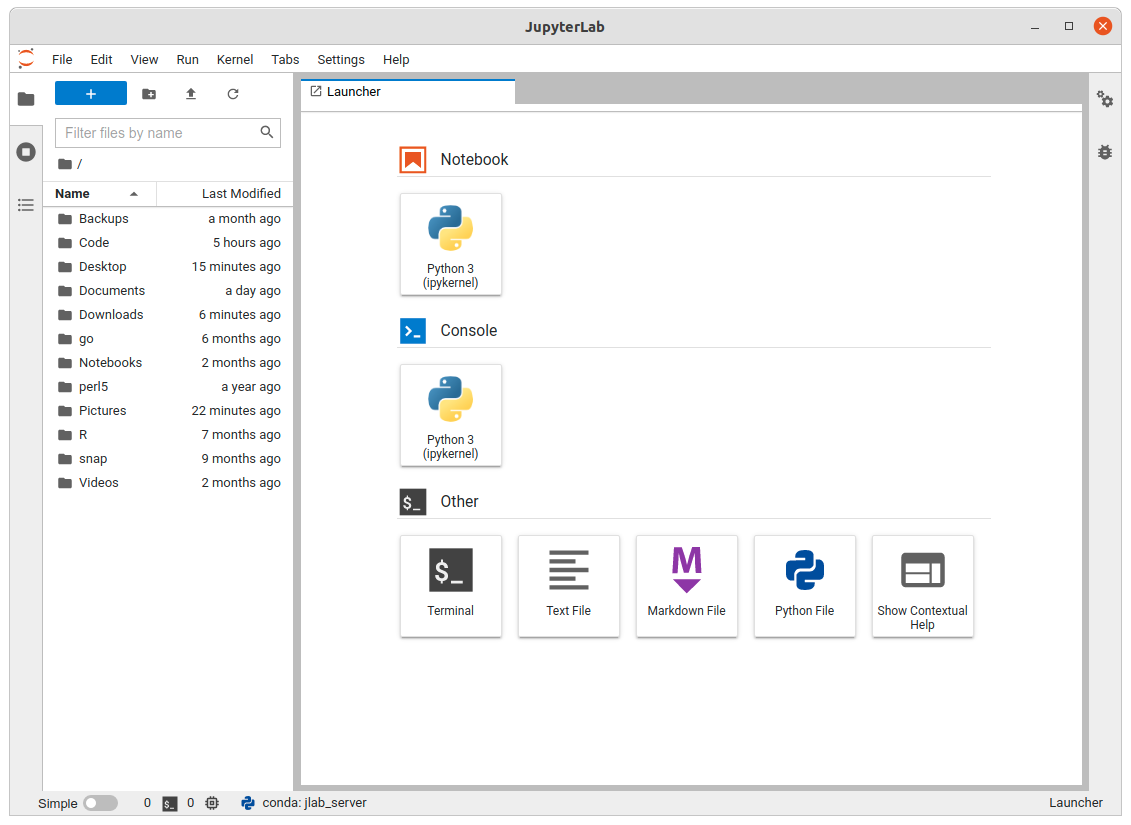
Click the “Python 3” button in the middle panel and create a new Python 3 notebook. You should now be able to pick up in chapter two and start work from there.