2. Notebooks
Once JupyterLab Desktop is installed, you can accept the installation wizard’s offer to immediately open the program, or you can search for “Jupyter Lab” in your operating system’s application finder.
That will open up a new window that looks something like this:
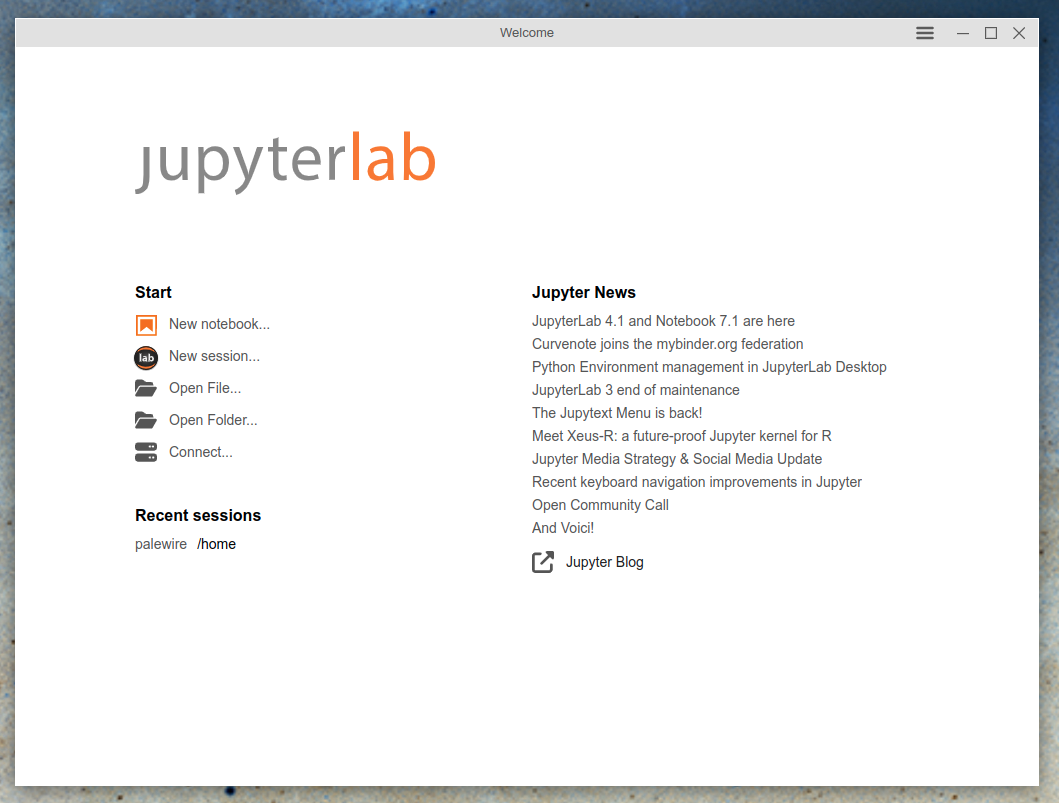
Warning
If you see a warning bar at the bottom of the screen that says you need to install Python, click the link provided to make that happen.
Click the “New notebook…” button to open the Python interface.
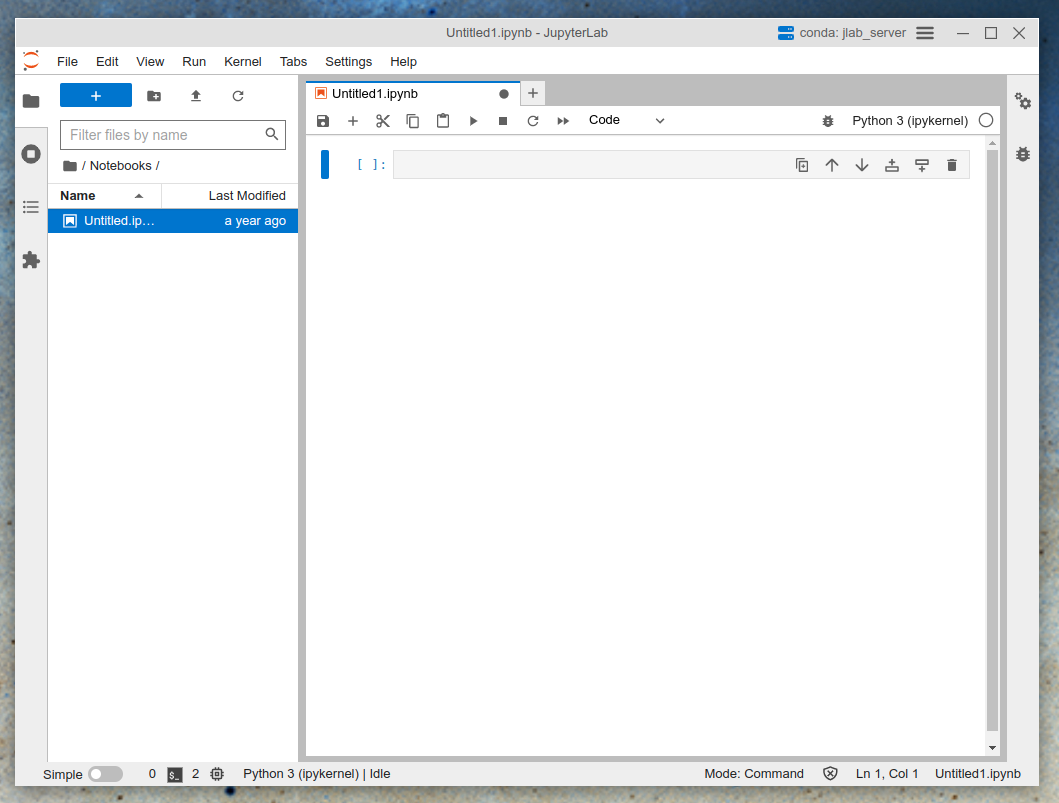
Welcome to your first Jupyter notebook. Now you’re ready to move on to writing code.
You should see a new panel with an empty box at the top. That means you are all set up and ready to write Python. If you‘ve never done it before, you can remain calm. We can start out slow with some simple math.
Type the following into the box, then hit the play button in the toolbar above the notebook or hit SHIFT+ENTER on your keyboard. The number four should appear.
2+2
4
There. Not so bad, right? You have just written your first line of code. When you execute a cell, the text inside it will be processed and the output will be displayed below the cell. If the cell contains code, it will be run by the Jupyter notebook’s underlying programming language. In the jargon of Python, you have entered two integers and combined them using the addition operator.
Now try writing in your own math problem in the next cell. Maybe 2+3 or 2+200. Whatever strikes your fancy. After you’ve typed it in, hit the play button or SHIFT+ENTER. This to-and-fro of writing Python code in a cell and then running it with the play button is the rhythm of working in a notebook.
If you get an error after you run a cell, look carefully at your code and check whether it exactly matches what’s been written in the example. Here’s an example of a error that I’ve added intentionally:
2+2+
  Cell In[2], line 1
    2+2+
        ^
SyntaxError: invalid syntax
Don’t worry. Code crashes are a normal part of life for computer programmers. They’re usually caused by small typos that can be quickly corrected.
2+2+2
6
The best thing you can do is remain calm and carefully read the error message. It usually contains clues that can help you fix the problem.
Over time you will gradually stack cells to organize an analysis that runs down your notebook from the top. A simple example is storing your number in a variable in one cell:
number = 2
Then adding it to another value in the next cell:
number + 3
5
Run those two cells in succession and the notebook should output the number 5.
Change the number value to 3 and run both cells again. Instead of 5, it should now output 6.
So, first this:
number = 3
Then this:
number + 3
6
Now try defining your own numeric variable and doing some math with it. You can name it whatever you want. Want to try some other math operations? The - sign does subtraction. Multipication is *. Division is /.
Sometimes it is helpful to describe what the code is doing in case you want to share it with a colleague or return to it after some time. You can add comments in the cell by putting a hash # in front of the text. So, for example, we could use a comment to add extra information about the number variable.
# This is a random number
number = 3
To add a cell in a Jupyter notebook, you can use the “+” plus button in the toolbar just above the cells. Alternatively, you can use the keyboard shortcut “a” to insert a cell above the current cell or “b” to insert a cell below the current cell.
To remove a cell, you can select the cell and press the “d” key twice in a row. Alternatively, you can use the “Edit” menu at the top of the page and select “Delete Cells” or you can use the “scissors” button in the toolbar above the notebook to delete the selected cell. Note that when you delete a cell, everything in that cell will be lost and it cannot be undone.
Note
Cells can contain variables, functions or imports. If you’ve never written code before and are unfamiliar with those terms, we recommend “An Informal Introduction to Python” and subsequent sections of python.org’s official tutorial.
Now let’s make a list of numbers in a new notebook cell. A list is another tool Python offers for working with figures. Creating one is as simple as stringing together a set of values surrounded by square brackets and separated by commas.
Let’s start simple. Enter all of the even numbers between zero and ten. Name its variable something plain like my_list. Press play.
my_list = [2, 4, 6, 8]
You can do cool stuff with any list, even calculate statistics. One built-in Python function that’s always available is sum, which adds up all the items in the list.
sum(my_list)
20
Another is len, an abbreviation for length, which returns how many values are contained in the list.
len(my_list)
4
Using the simple math operators we explored earlier, you can calculate the basic formula for an average by dividing the result of those two options in another cell.
sum(my_list) / len(my_list)
5.0
Now go back to your list and replace the even numbers with all of the odds between zero and ten. When you rerun all the subsequent cells your statistics should update to reflect the new values.
my_list = [1, 3, 5, 7, 9]
Add a very large number like 999 to the end of the list and you should see your average value shoot way up, a common issue in statistics called an outlier or a skew.
my_list = [1, 3, 5, 7, 9, 999]
The most common way to address that problem in journalism is to substitute in a different statistic for the average, typically a median. While a skilled Python programmer could conjure up some code to run that calculation here, there’s no simple built-in tool like sum or len.
Everything we have done so far has been in code cells, the default cell type. We can also make text cells, which are useful for giving our notebooks some structure and organization. You can do this by manipulating the pulldown menu in the toolbar directly above the notebook. By default the input is set to “Code.” Click the dropdown arrow and change it to “Markdown,” a markup language for formatting text similar to HTML.
These cells allow you to create headers, write descriptions, add links and more to add context to your code. “The Ultimate Markdown Guide” is a reference on all of the styling that you can draw from. For now, let’s try adding a heading and a bulleted list.
## Hashes make headings
- Dashes make
- Bulleted lists
2.1. Hashes make headings
Dashes make
Bulleted lists
Once you’ve got the hang of making the notebook run, you’re ready to introduce pandas, the powerful Python analysis library that can do a whole lot more than add a few numbers together.