7. Beefing up bigger servers
GitHub Actions can do a lot, but sometimes it’s simply not enough. The free service has limits on disk space, processing units and how long jobs can run.
If you want more horsepower, you will need to link it up with bigger servers.
Amazon Web Services is a cloud platform that offers all forms of computing power. One way to get around GitHub’s limitations is to assign Amazon’s cloud servers, provided by a service known as EC2, to your GitHub Actions as self-hosted runners.
It’s a great combination. You get the nearly limitless capacity of Amazon without losing the convenience of GitHub’s Actions interface.
We’ve used this technique to:
Standardize hundreds of millions of responses to public opinion polls conducted by Reuters and Ipsos
Refine and republish California’s gigantic database of campaign-finance filings
Aggregate decades of climate data into global and regional averages
Though, there is bad news here, you will have to pay for it. Jeff Bezos didn’t get rich by giving things away.
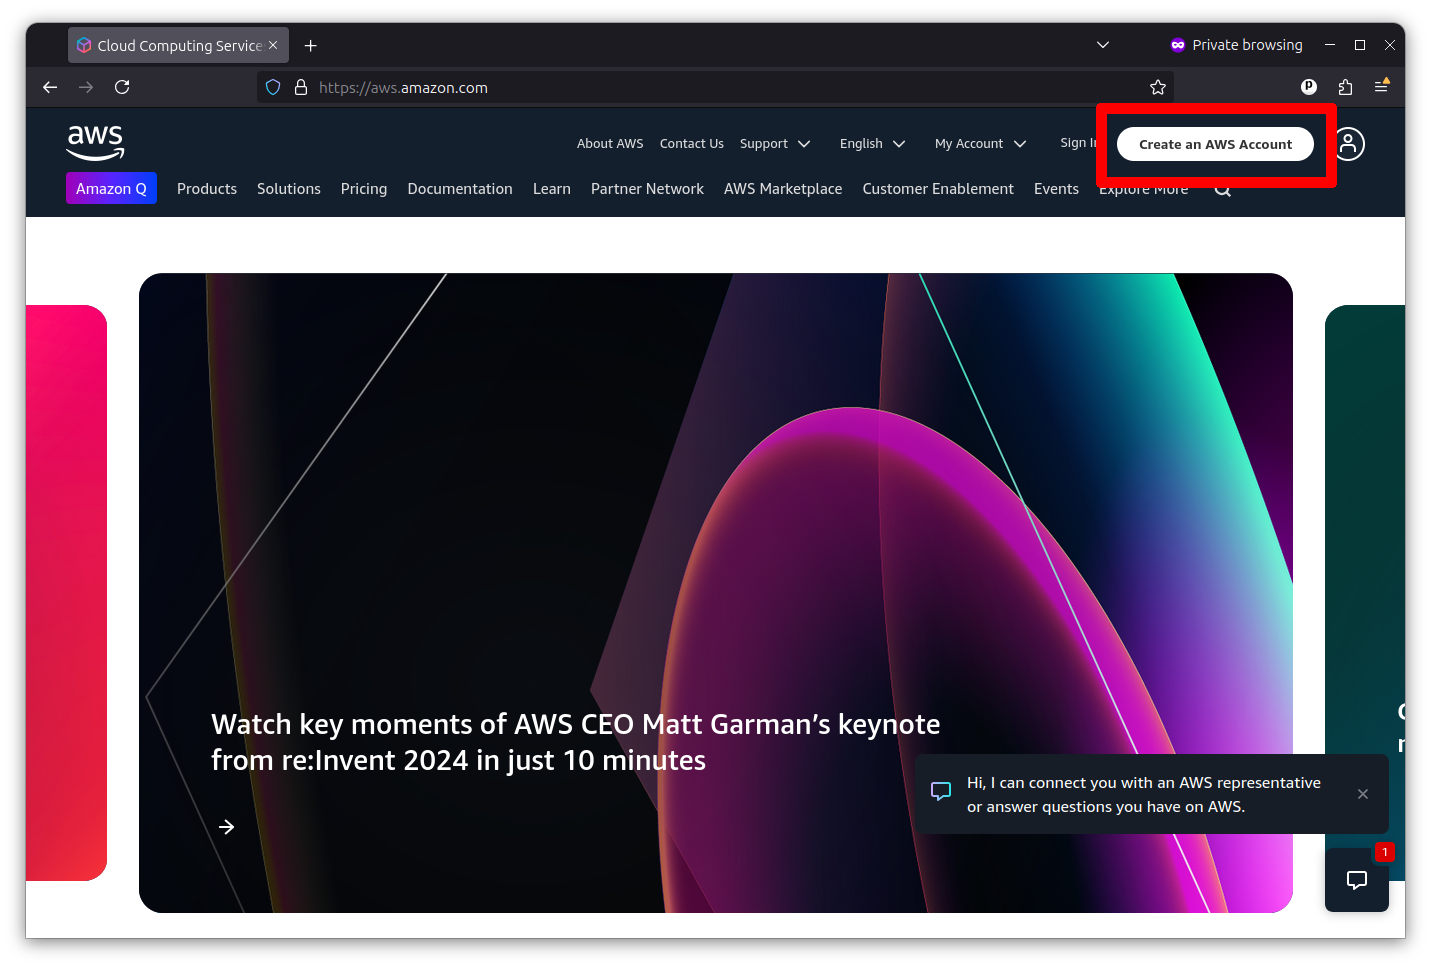
The first step is to create an Amazon Web Services account, if you don’t already have one. Go to aws.amazon.com and click the button that says “Create an AWS account” in the upper right corner.
You’ll provide a root email address and a name for the account. And then you’ll be asked to verify your email. Then you’ll enter a password, contact information and a payment method. You’ll also have to verify your phone number. Once that’s completed, you’ll be congratulated for your wherewithal.
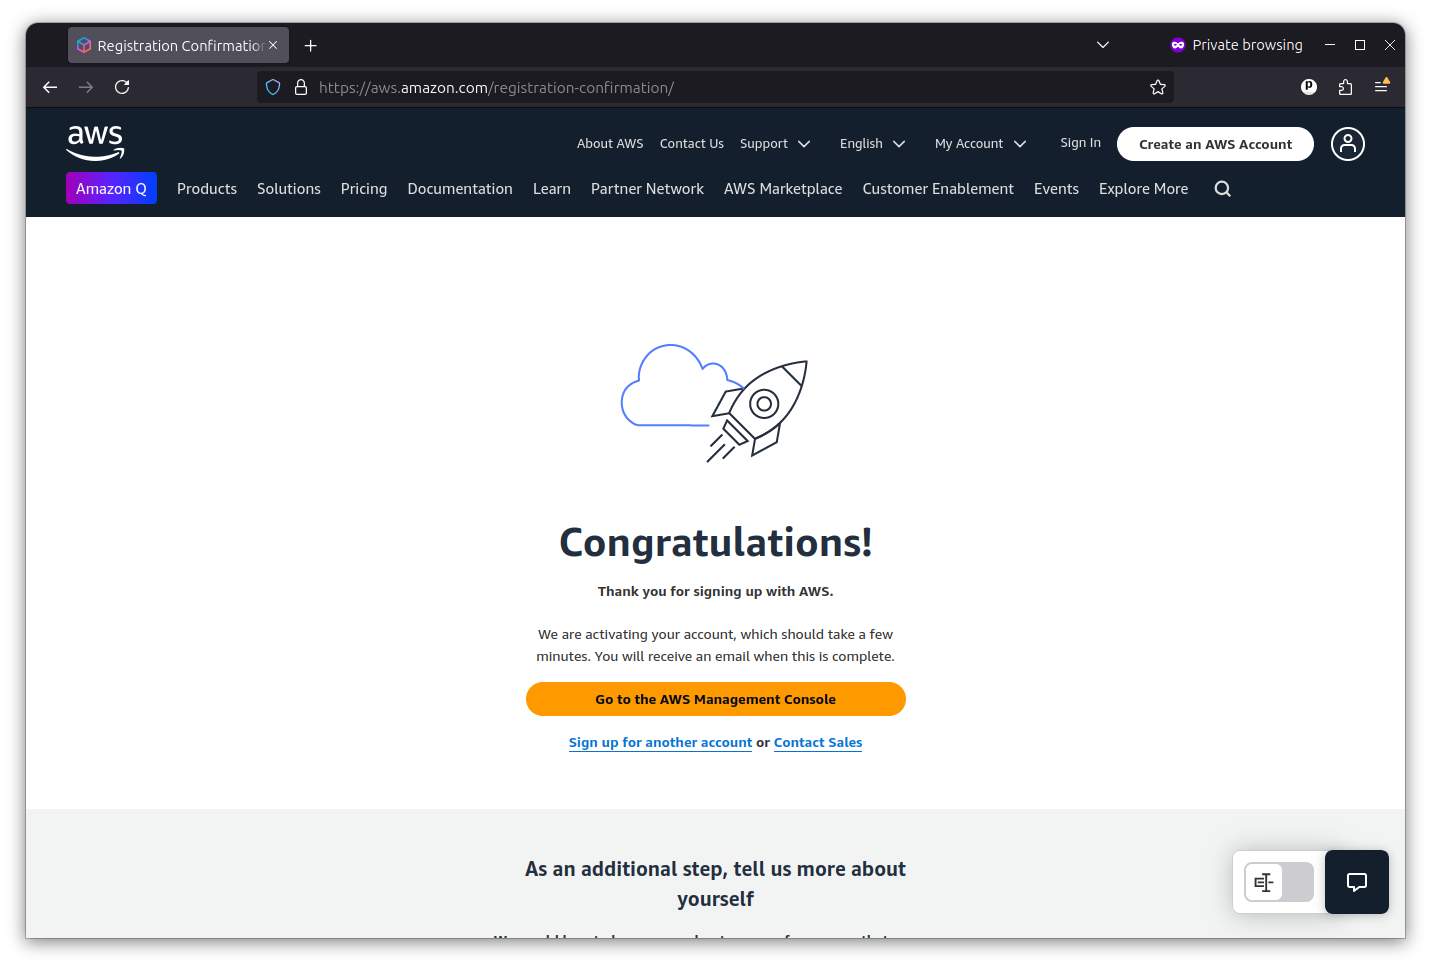
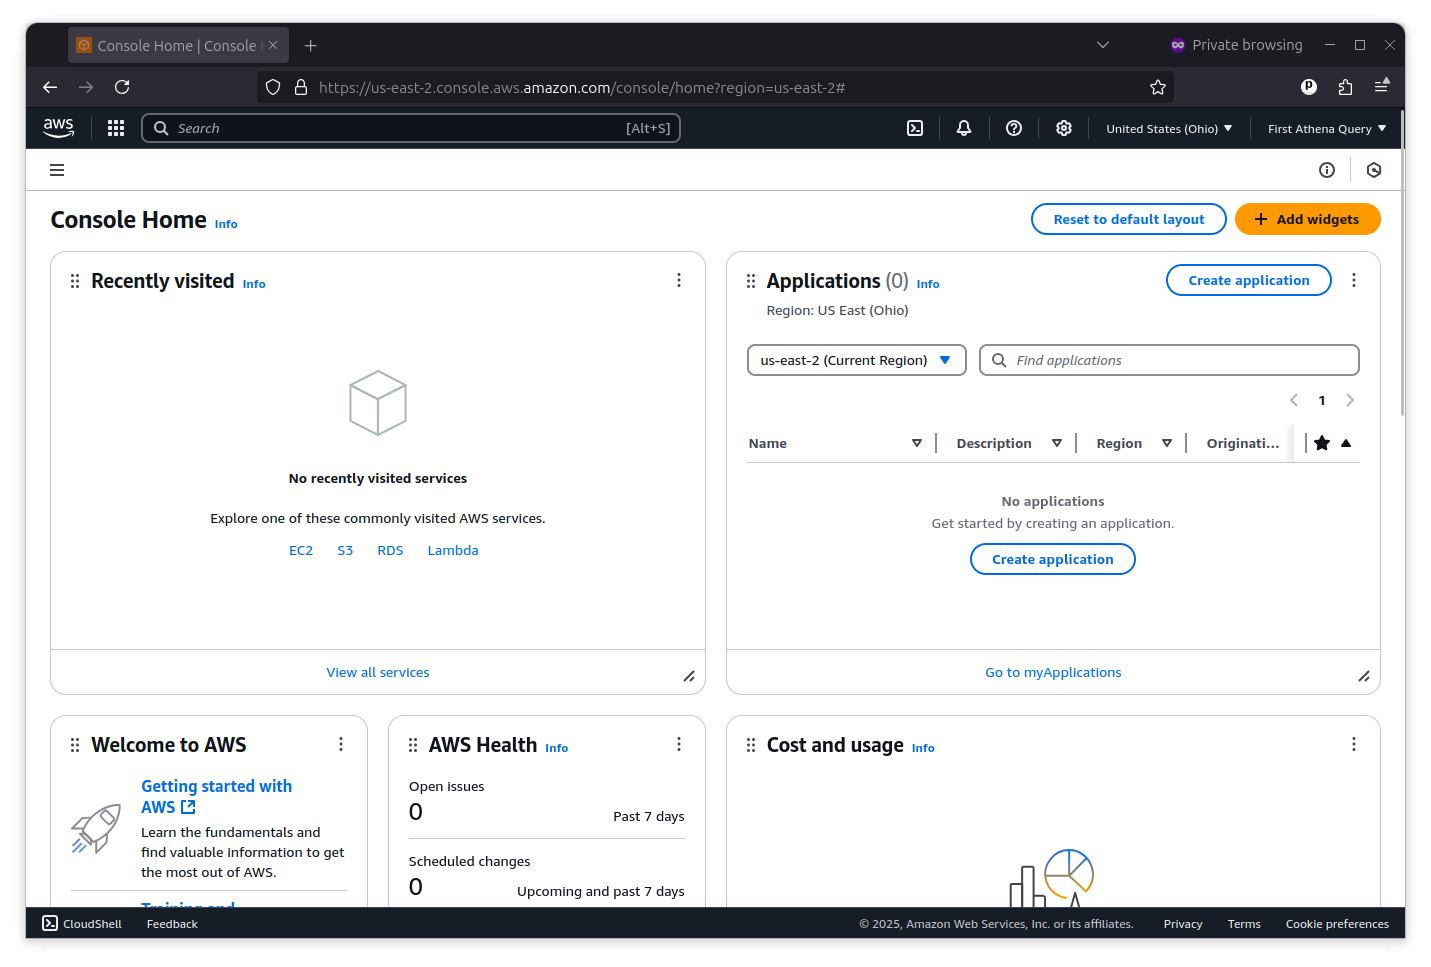
Now you’re ready to sign into the AWS Management Console, where you can access all of the services it offers.
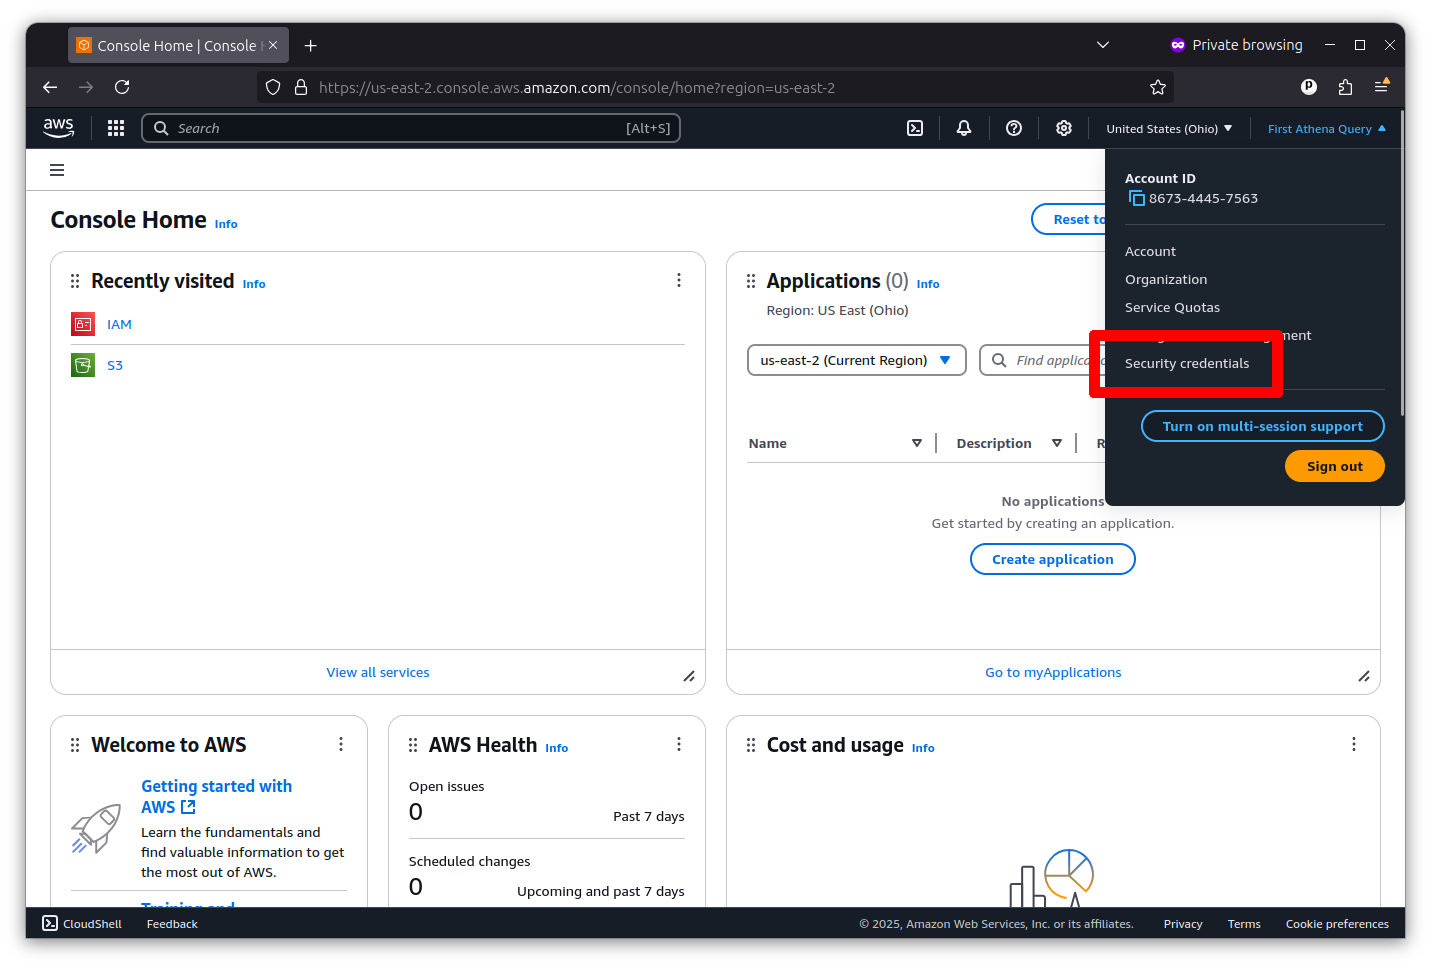
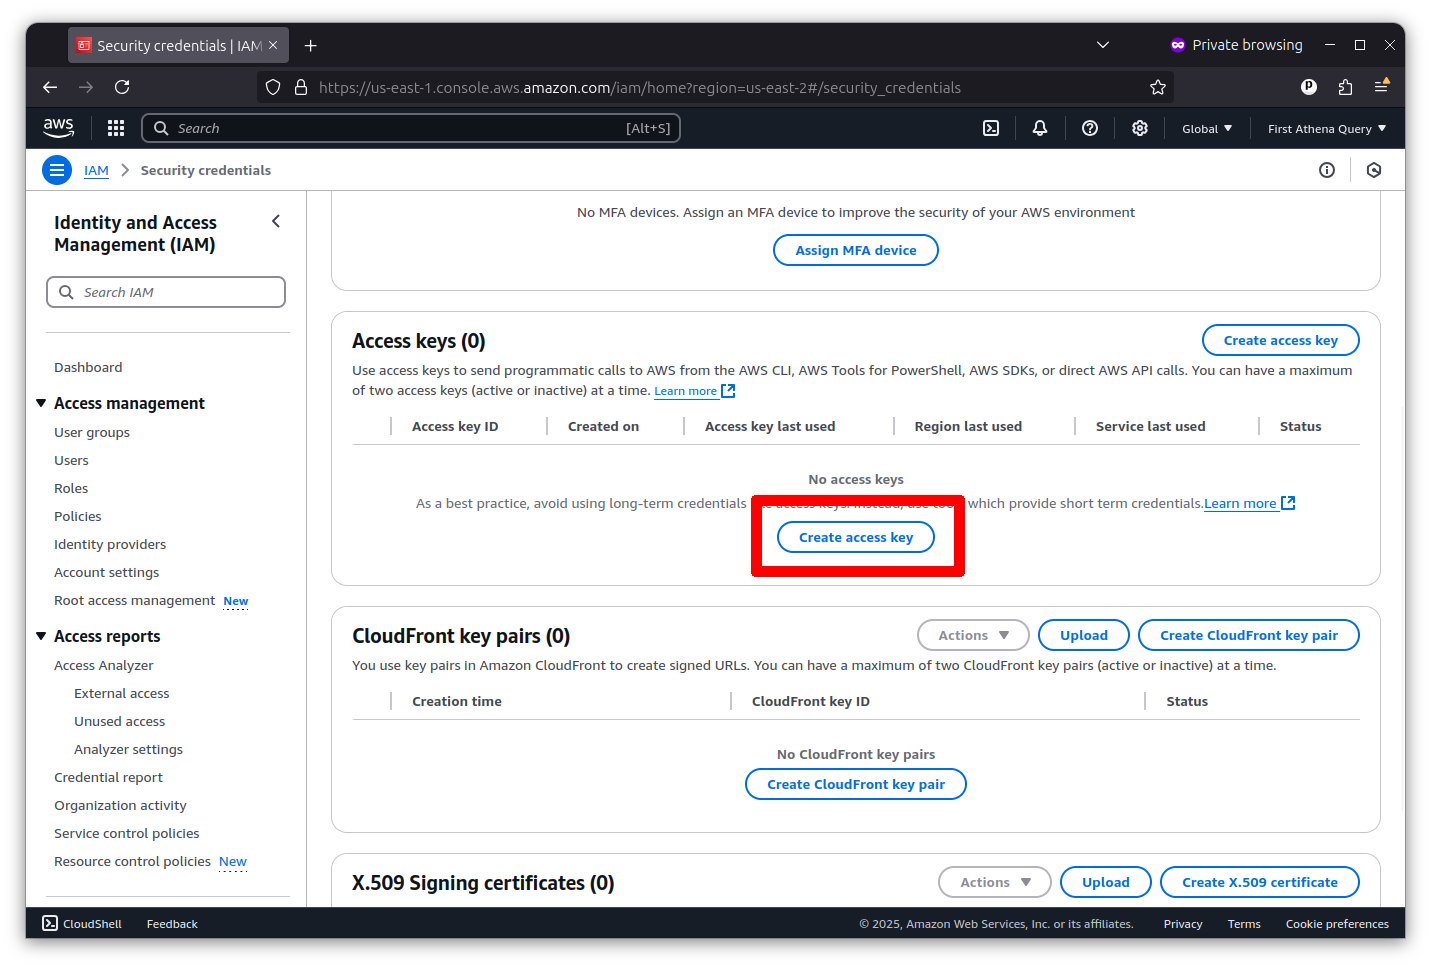
Accessing Amazon Web Services with GitHub Actions requires that you first establish an API key with permission to access the services you want to use. You can do that by clicking on the pulldown menu in the far upper right corner of the console and selecting “Security Credentials.”
Then scroll down to the “Access keys” section and click the button that says “Create access key.”
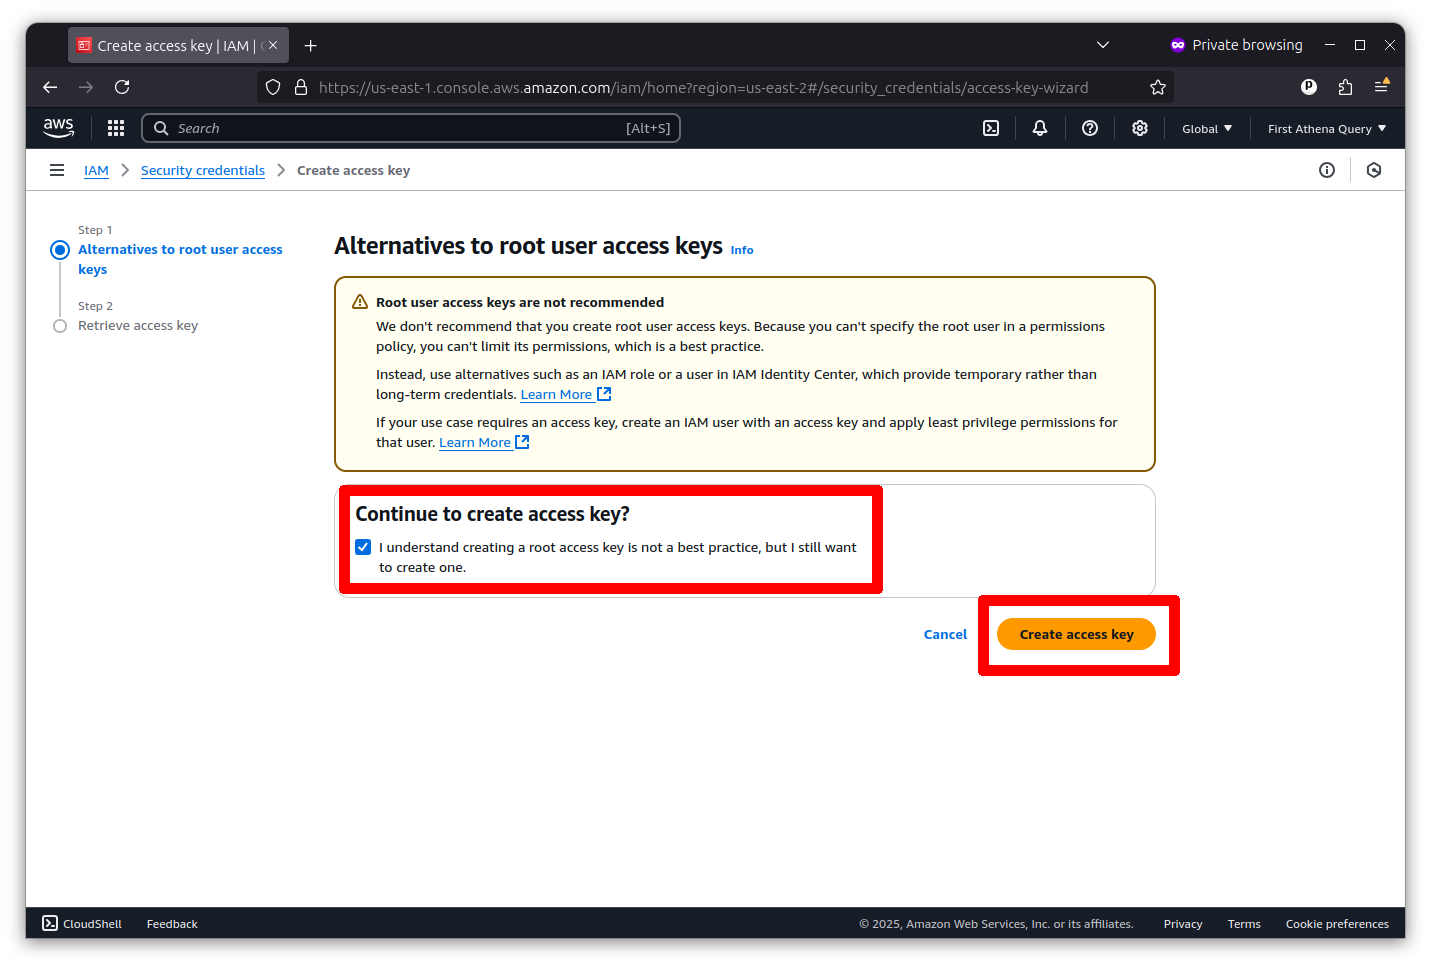
Now you can create a root key pair by checking the box and clicking the button that says “Create access key.”
The final screen will show you the key’s ID and secret. I’ve redacted my pair in the example below.
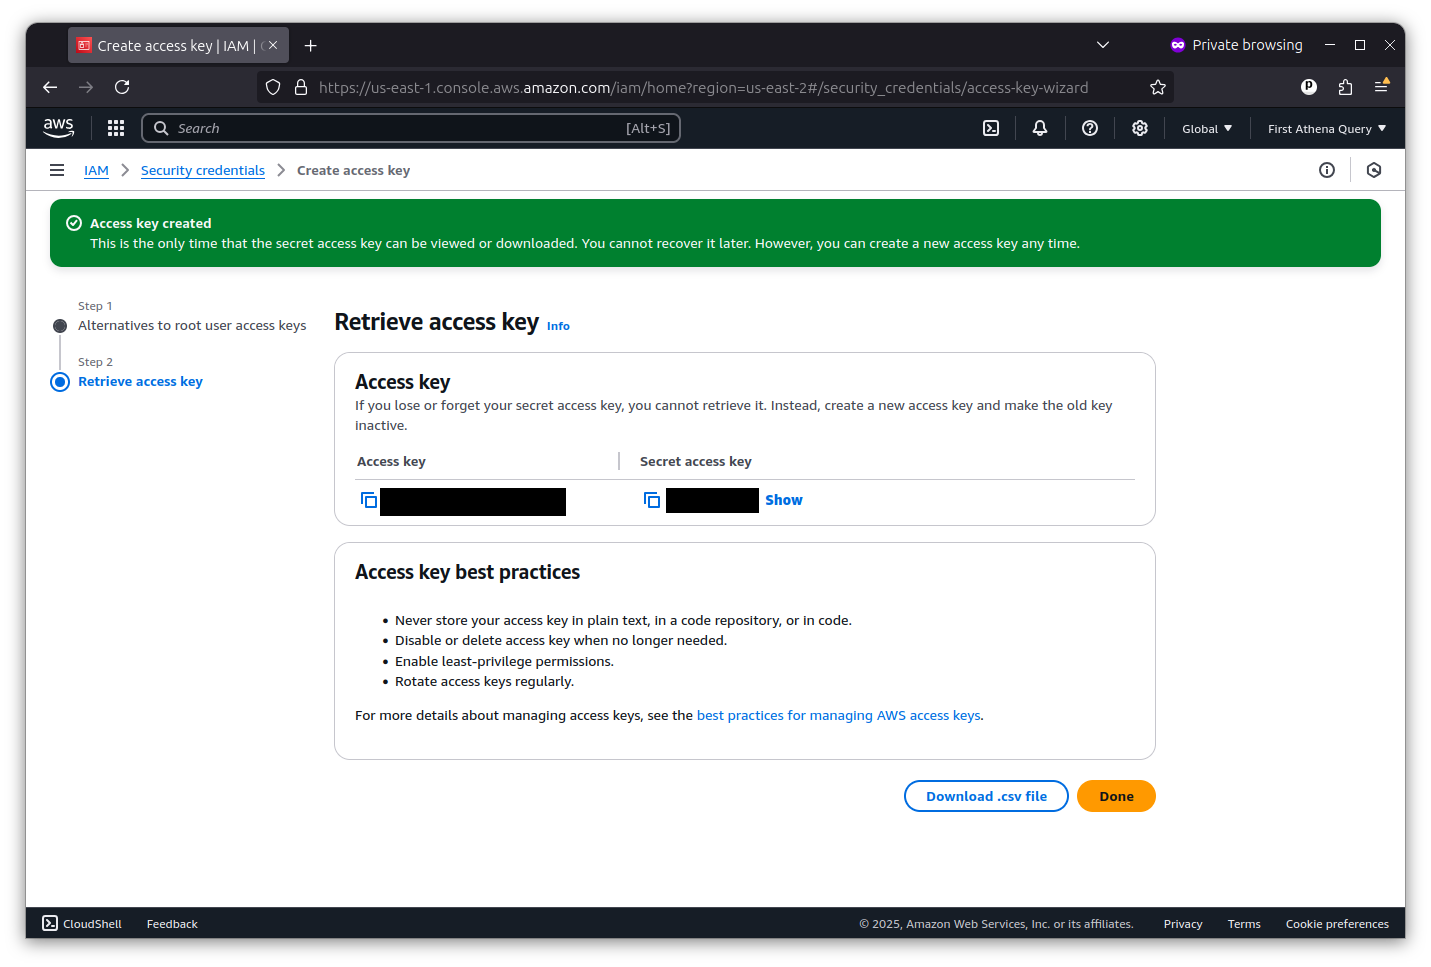
Copy and paste them into a text file for safekeeping. You will not be able to see the secret key again. They are what Actions will use to gain access to AWS from outside the console.
Next we will need to configure your account’s networking to allow for EC2 servers to communicate with GitHub. This is done by creating a virtual privae cloud, known as a VPC, with a subnet that allows for public access.
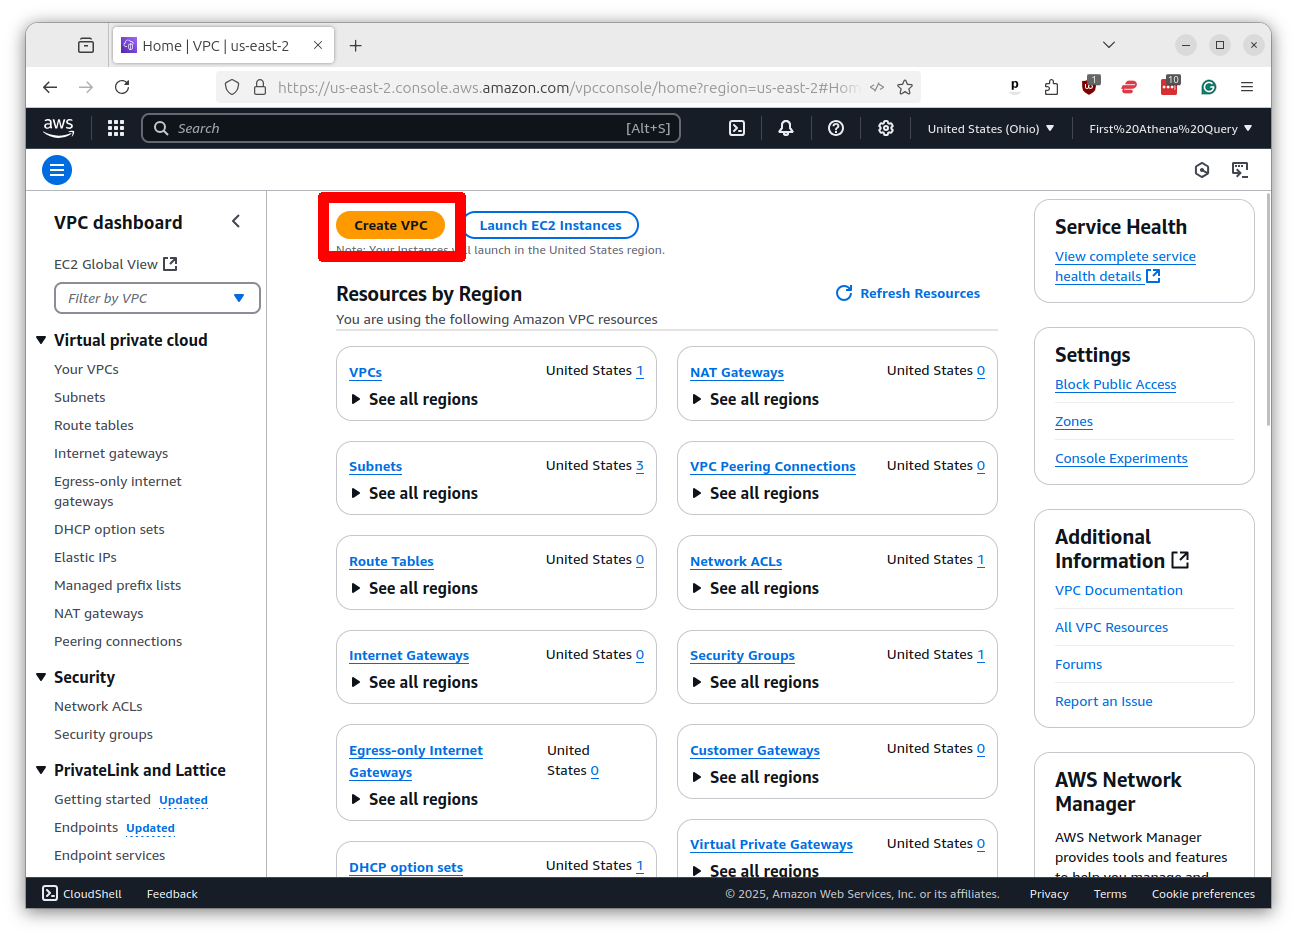
Return to the search bar at the top of the Amazon console and search for VPC.
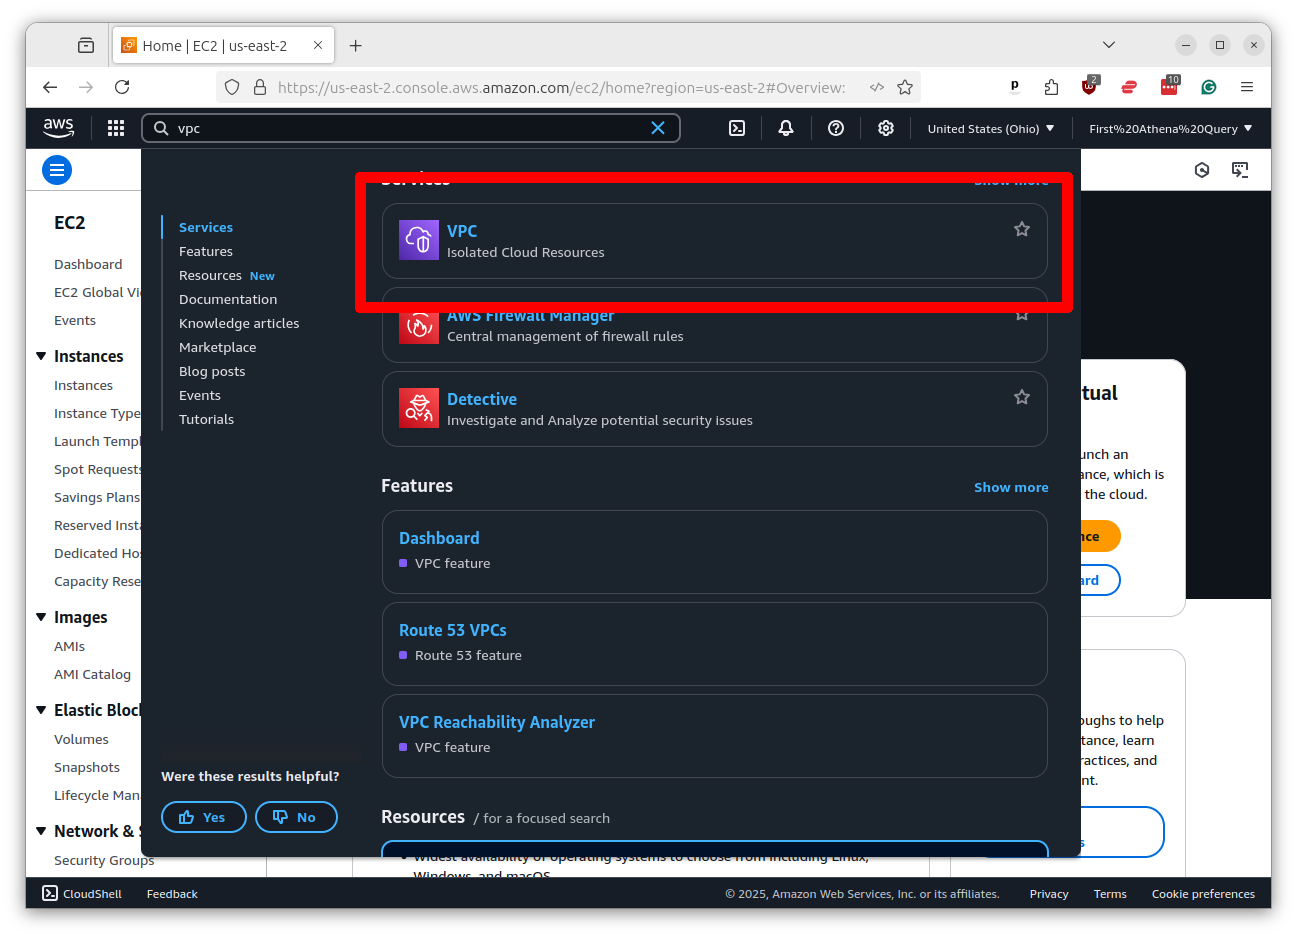
Click on the link that says “VPC” and then click the button that says “Create VPC.”
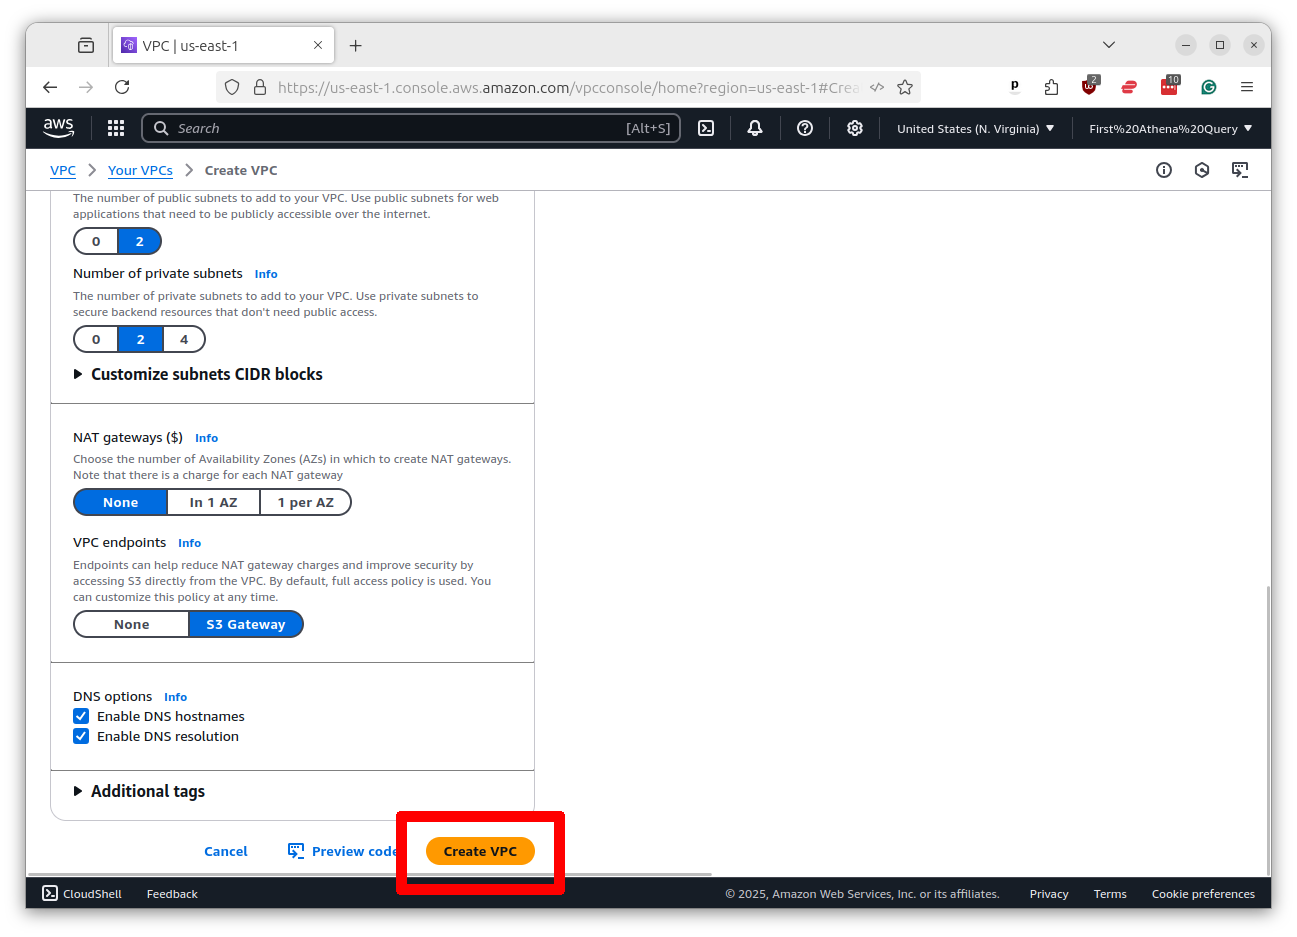
Scroll to bottom of the page, accepting all the default settings, and click the button that says “Create VPC.”
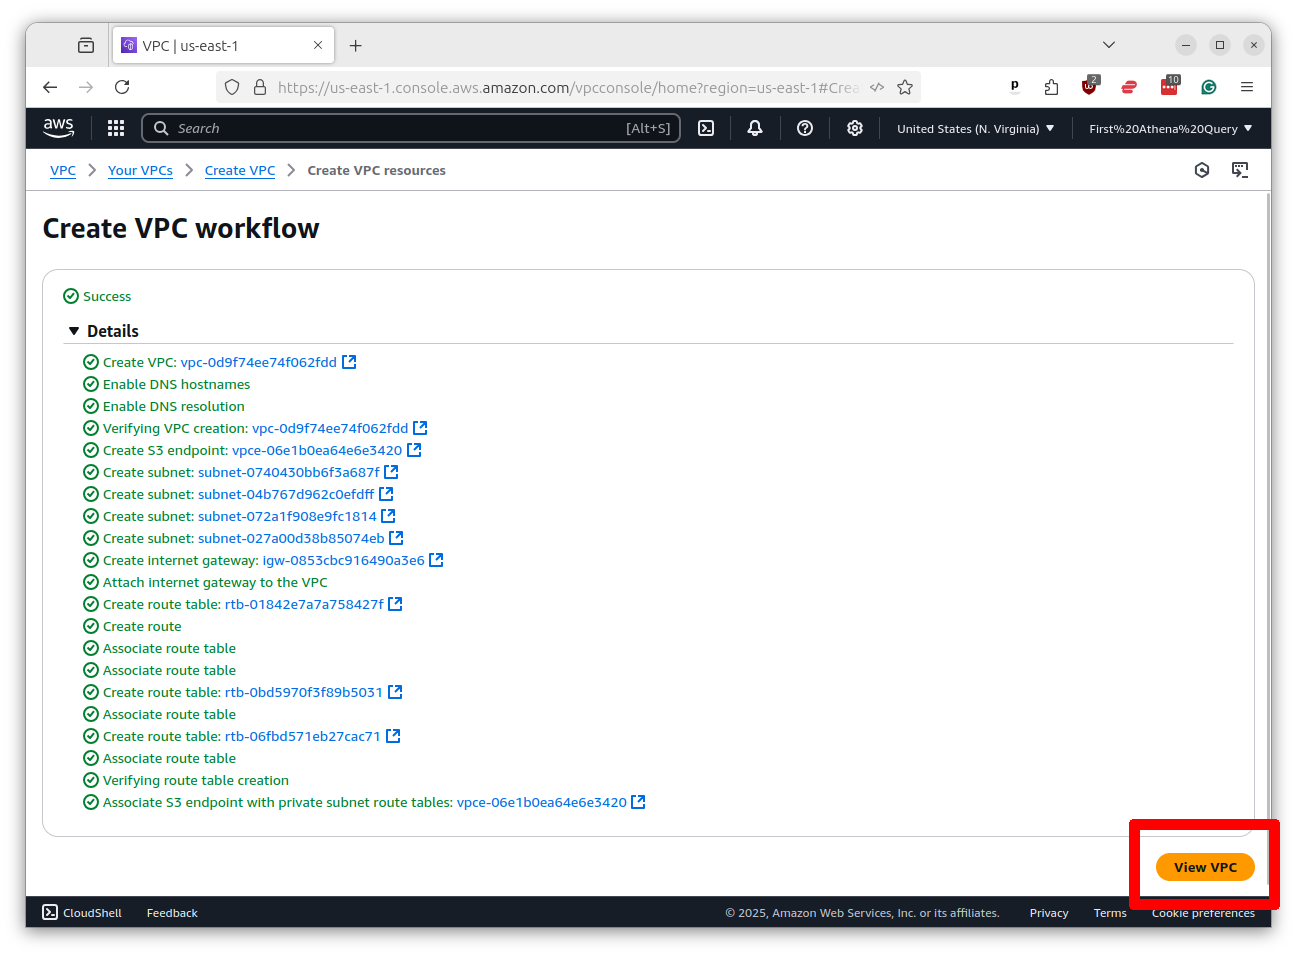
Wait for the VPC to be created. It will take a few seconds. Once it’s done, click the button that says “View VPC.”
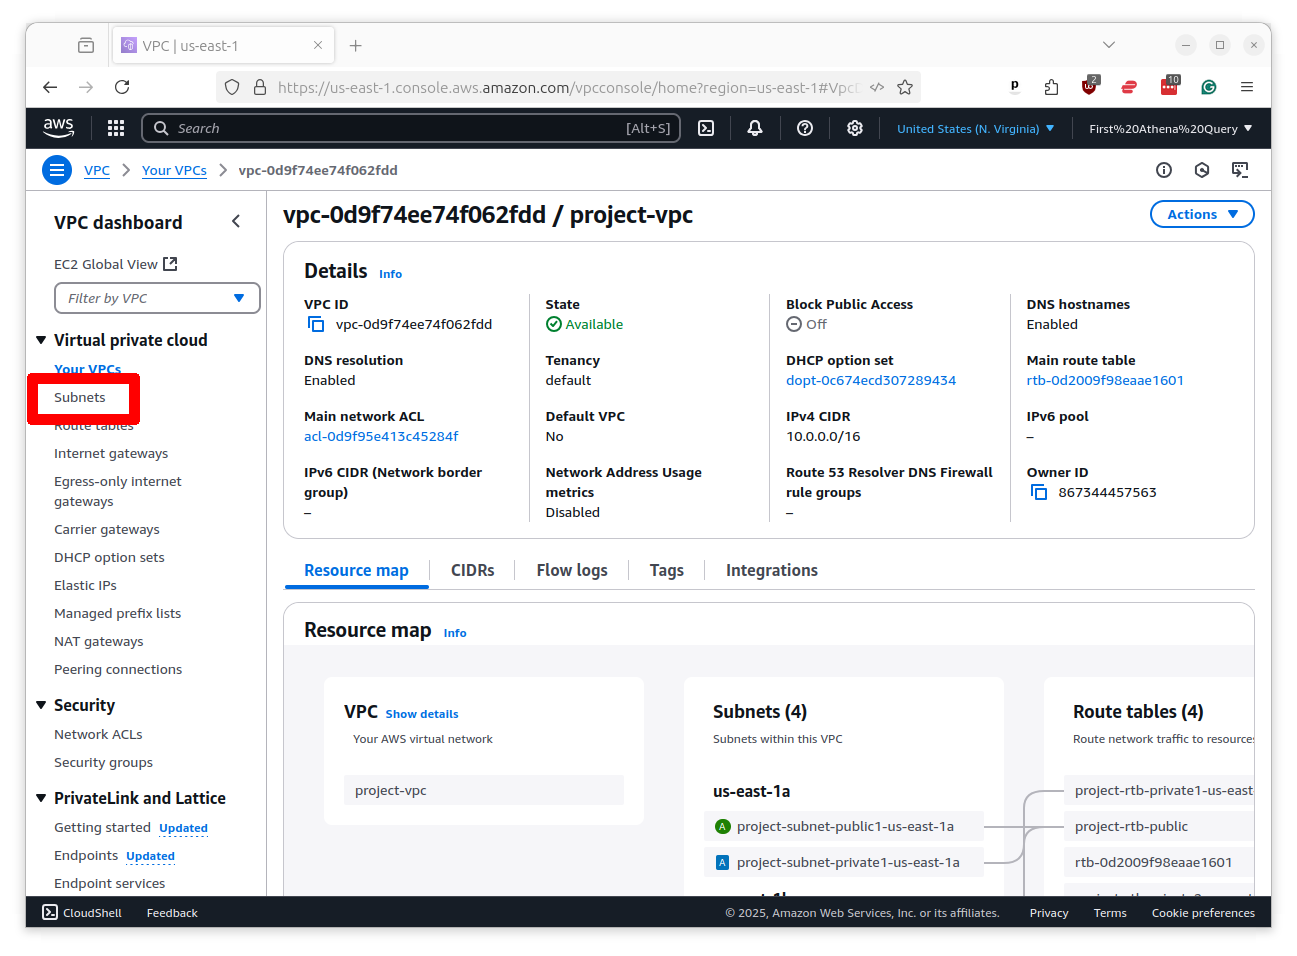
On the profile page of the VPC you will see a link to “Subnets” in the left-hand menu. Click on that link.
This will show a list of your subnets. Find one of the ones with “public” in its name and click on it.
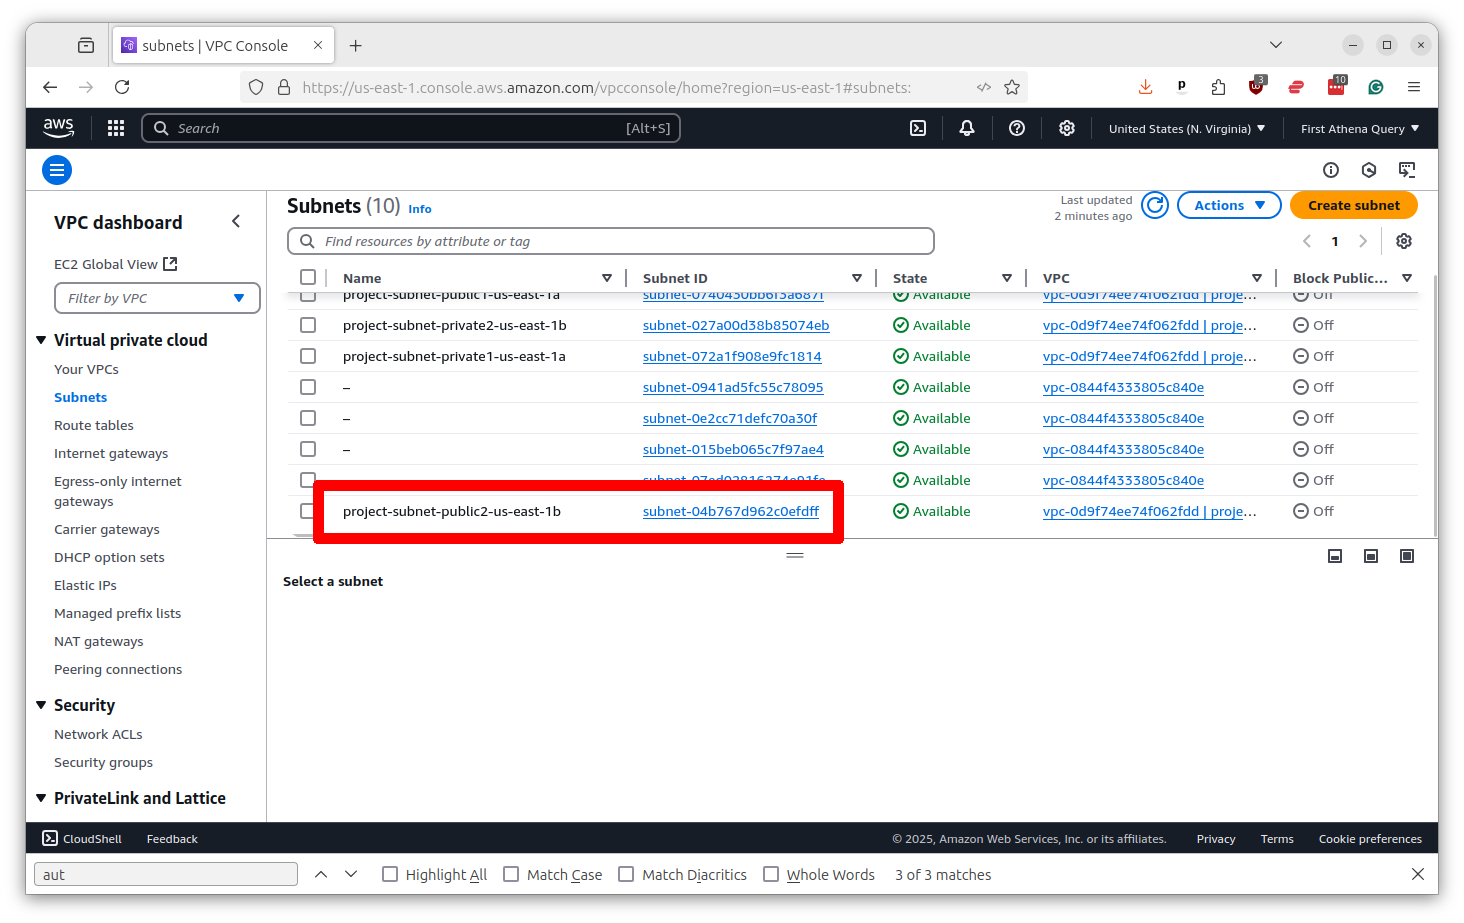
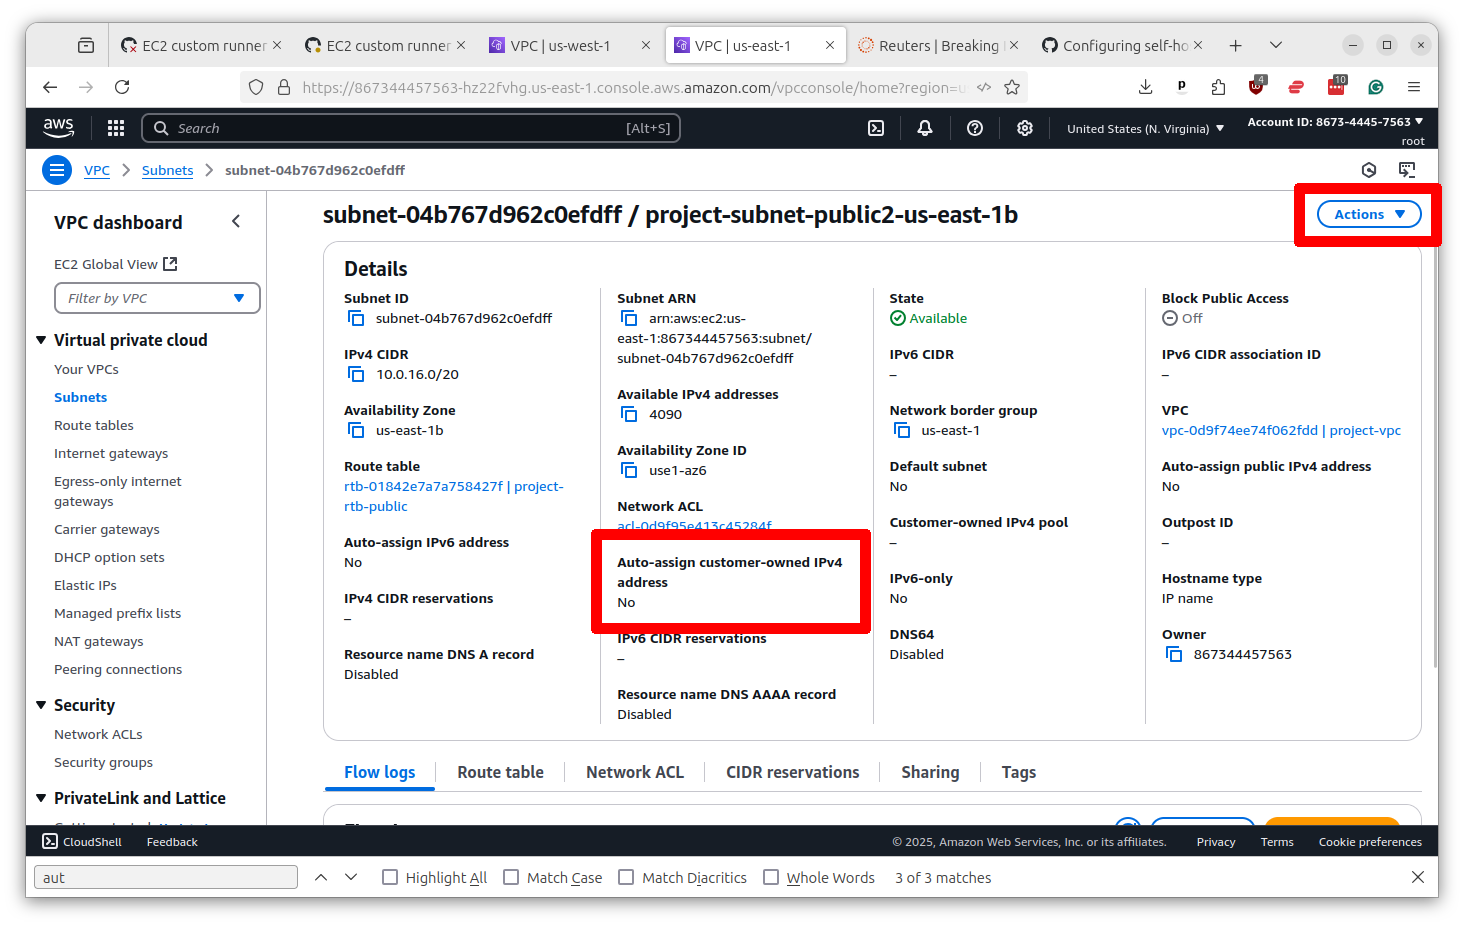
On the subnet profile page, look for an option that says “Auto-assign public IPv4 address.” If it is “no,” you will need to change it to “yes.” Click the button in the upper right that says “Actions” and select “Edit subnet settings.”
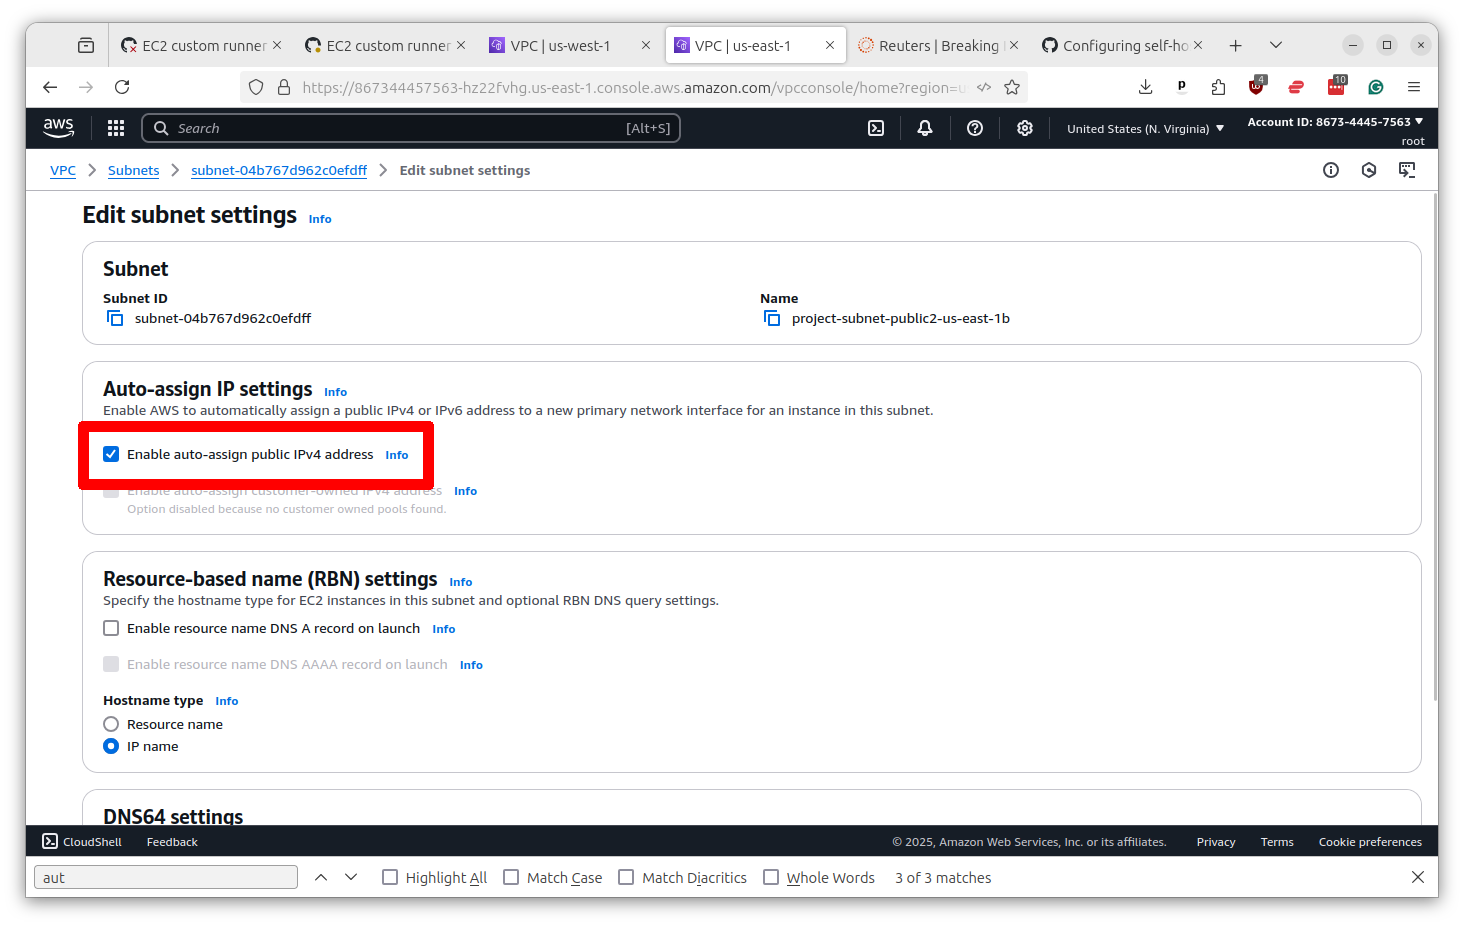
Change the setting to “yes” and then scroll down and click the button that says “Save.”
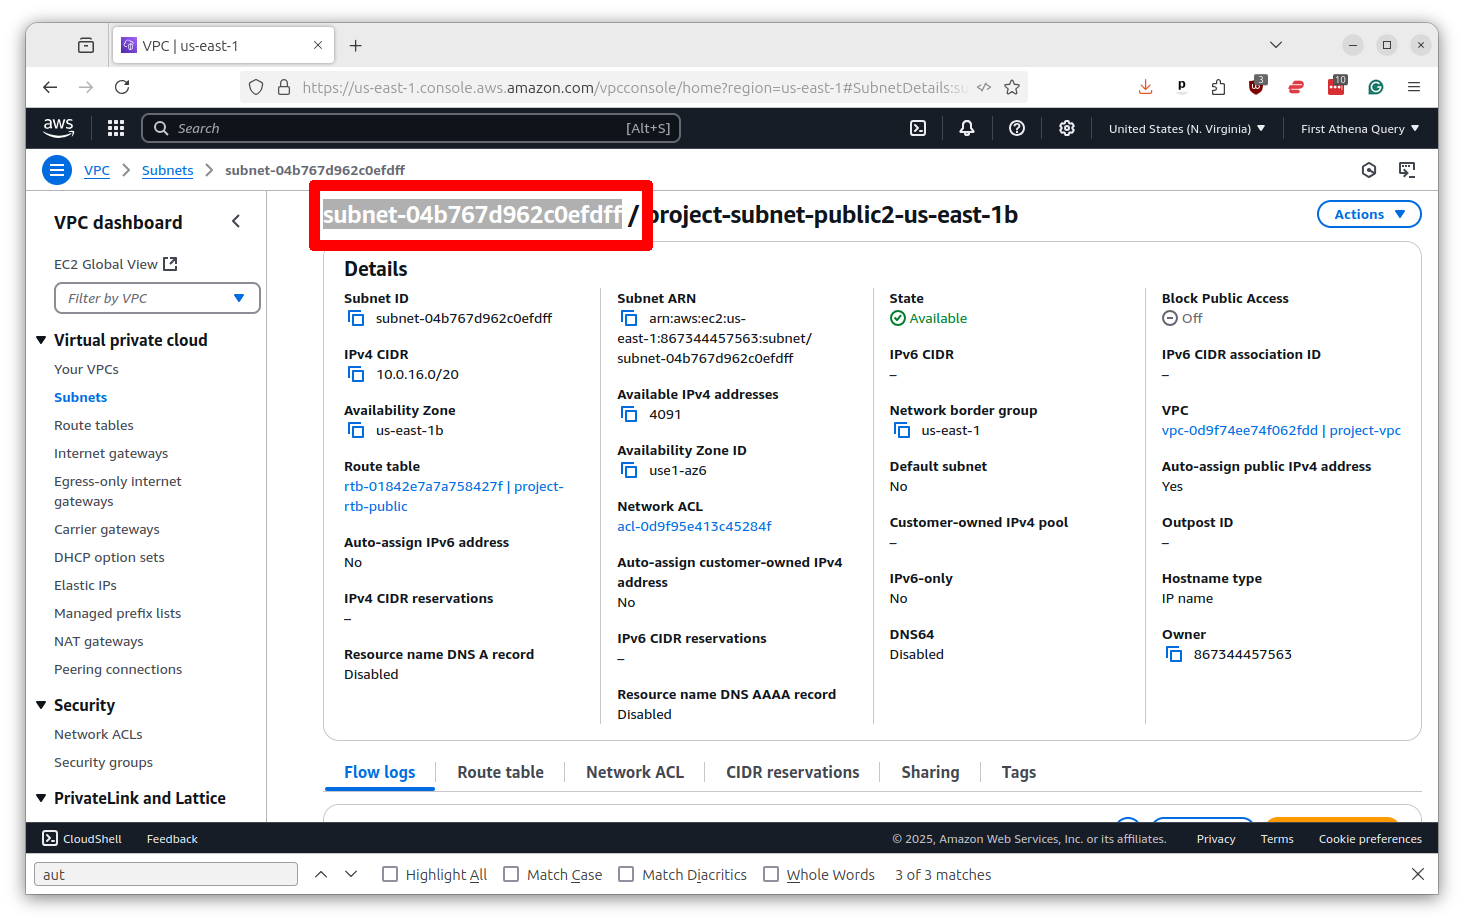
You’ve done it. But before you go, we need to save the subnet identifier for later. You will find it at the top of the profile page. Copy and paste it somewhere safe.
Next we will need to ensure that your EC2 servers use this subnet to access GitHub. We do this by setting what are known as a security group.
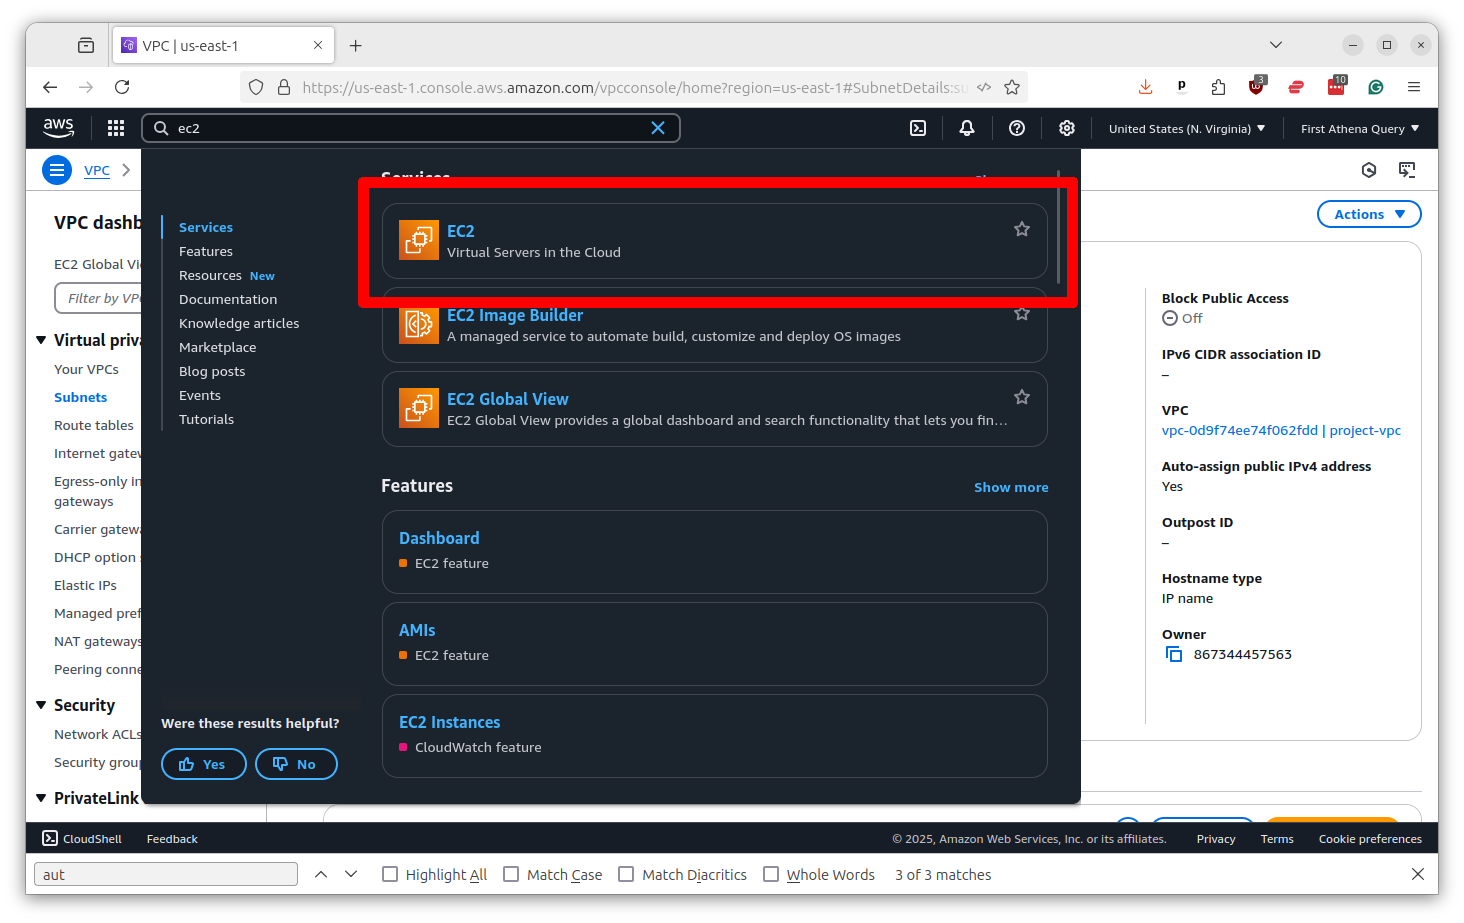
Return to the top search bar and this time punch in EC2. Select the top result.
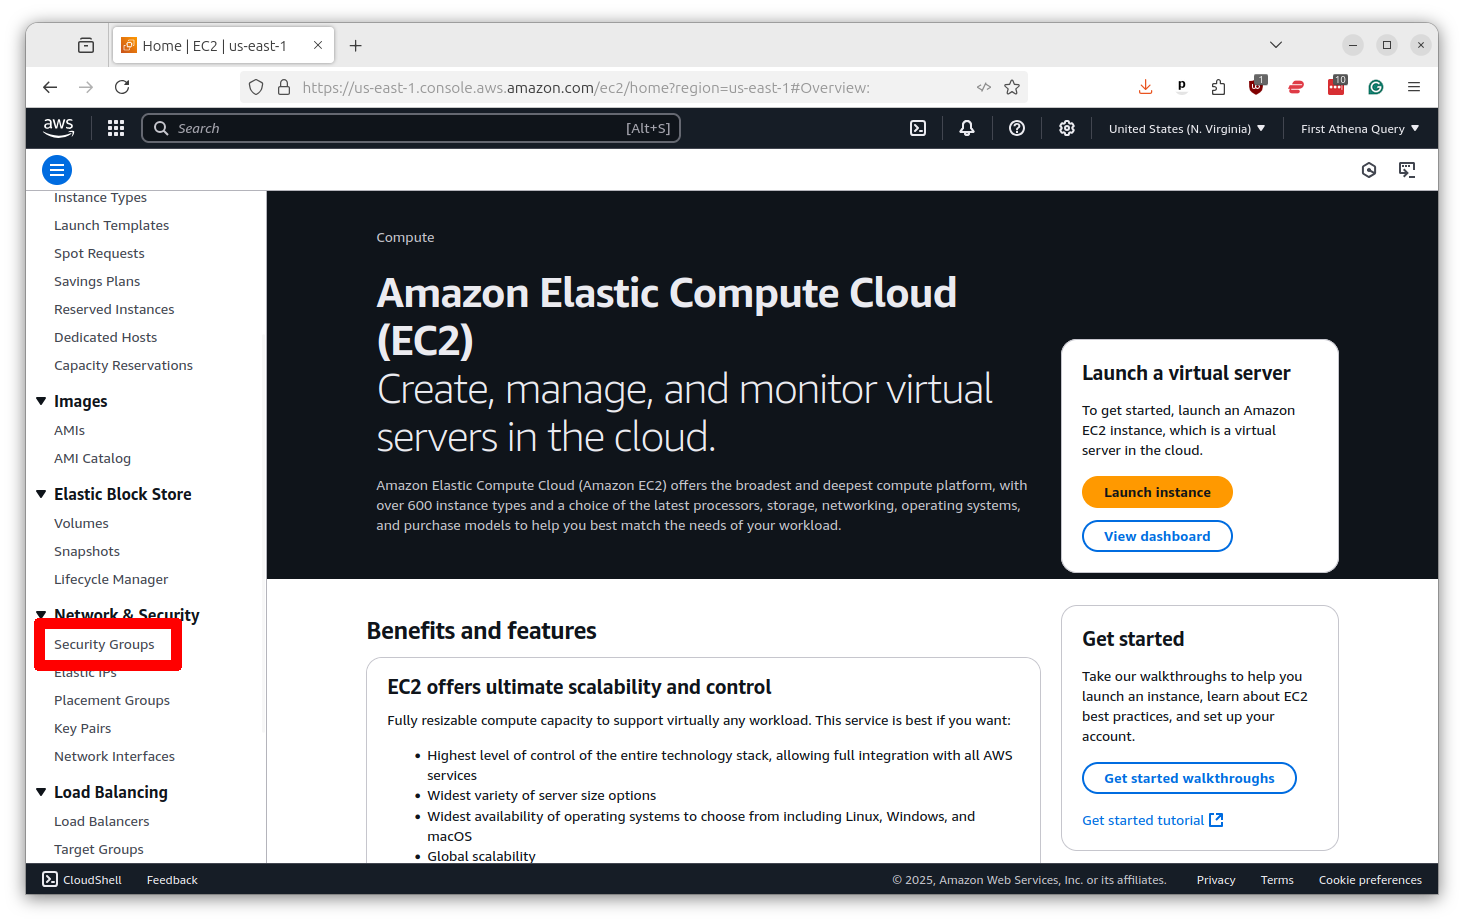
Scroll down the left-hand toolbar and select “Security Groups.”
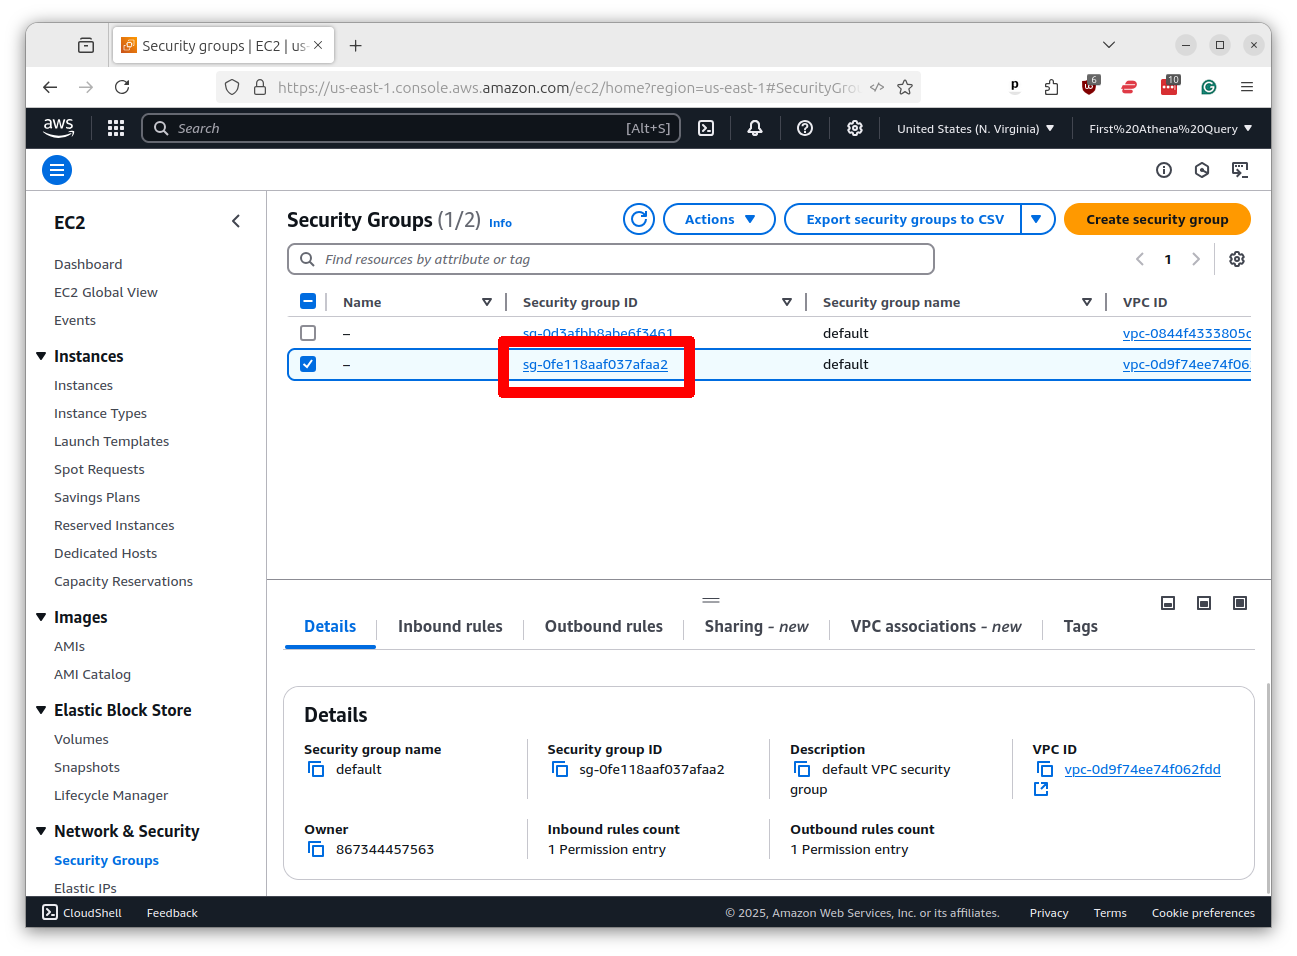
There will likely already be a security group created for you with the same name as your VPC. Click on its name.
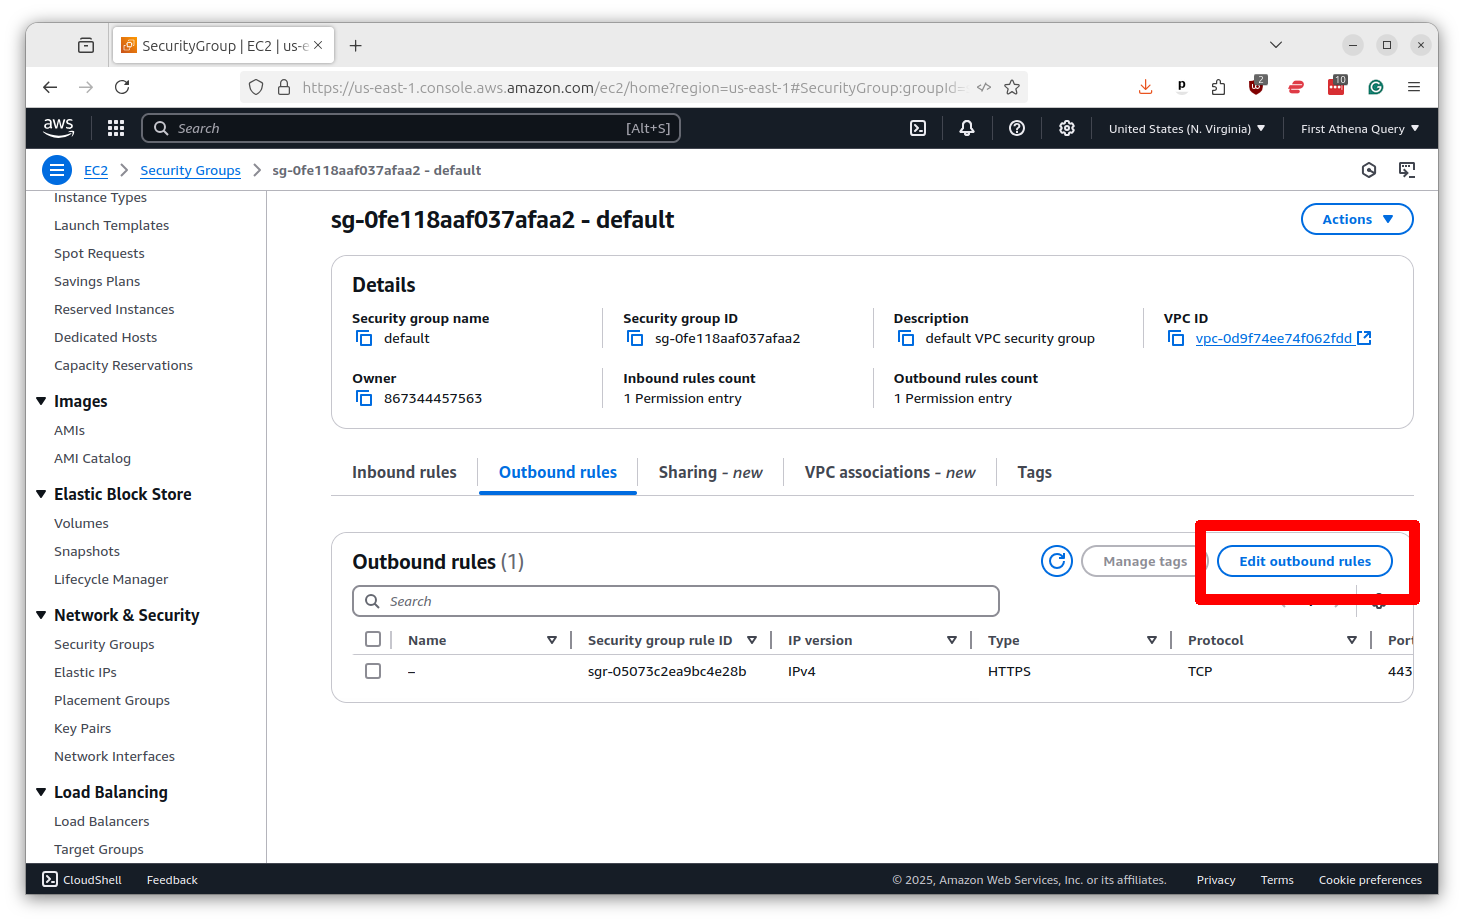
We need to make sure that your servers have “outbound” rights to talk to GitHub. Click on the “Outbound rules” tab.
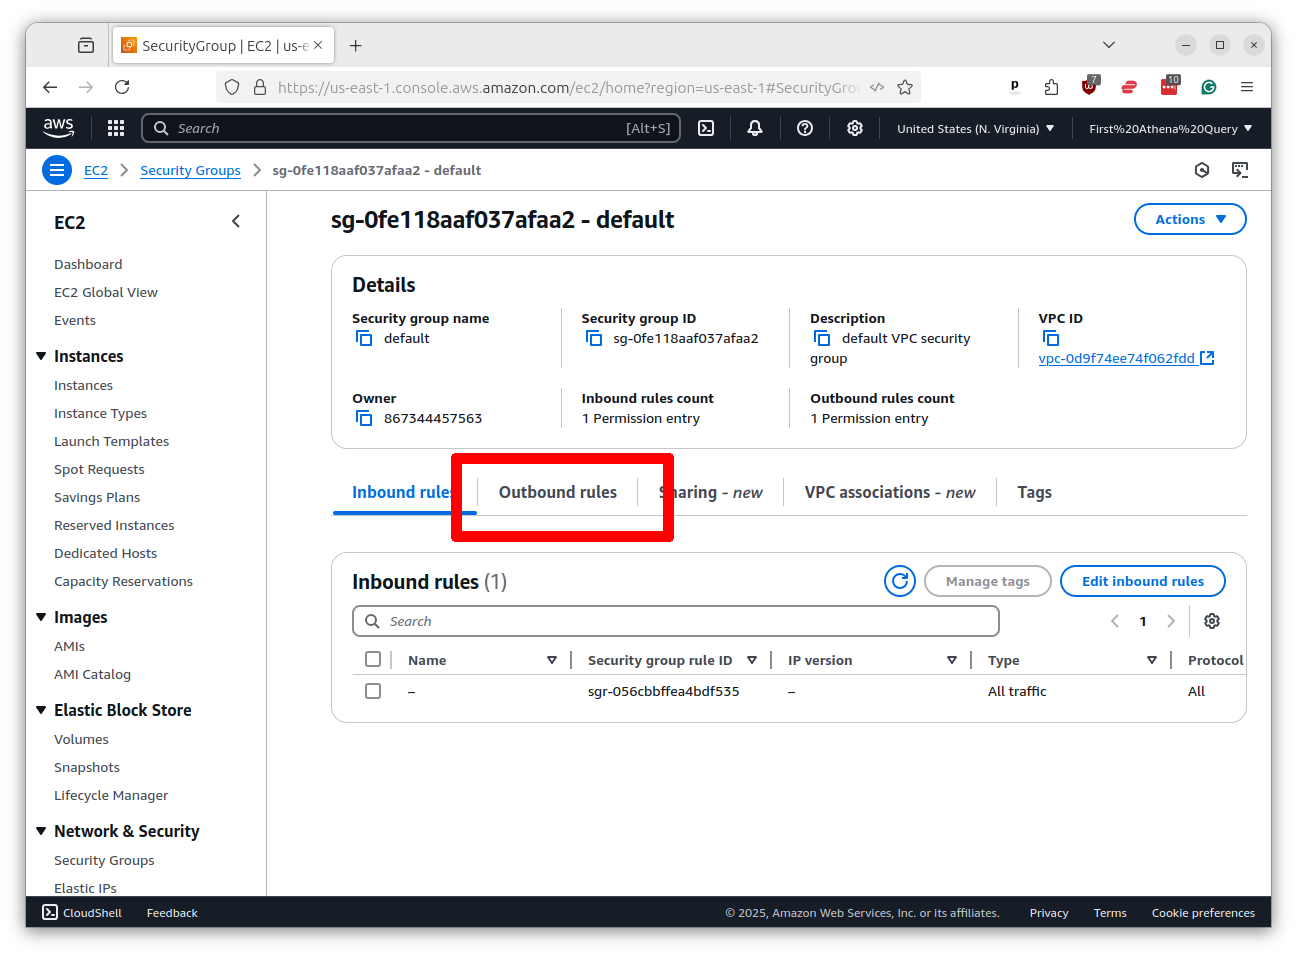
Tthen click the button that says “Edit outbound rules.”
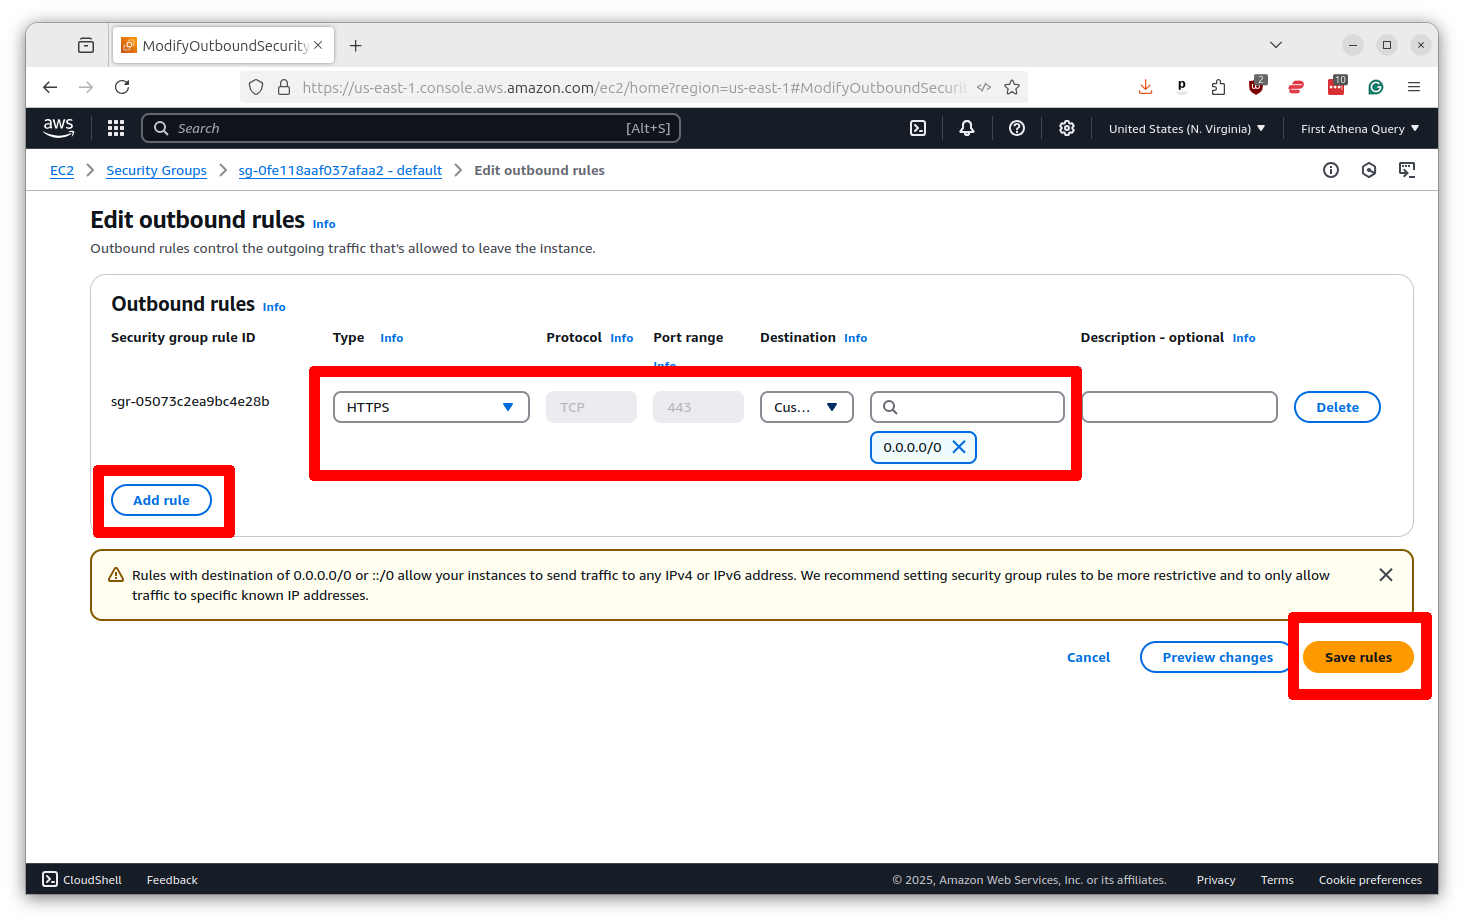
Now make sure there is a rule that allows for “HTTPS” traffic on port 433 to the “Custom” destination of 0.0.0.0/0, which means anywhere. If there is not, click the button that says “Add rule” and put in those options. Then click “Save rules.”
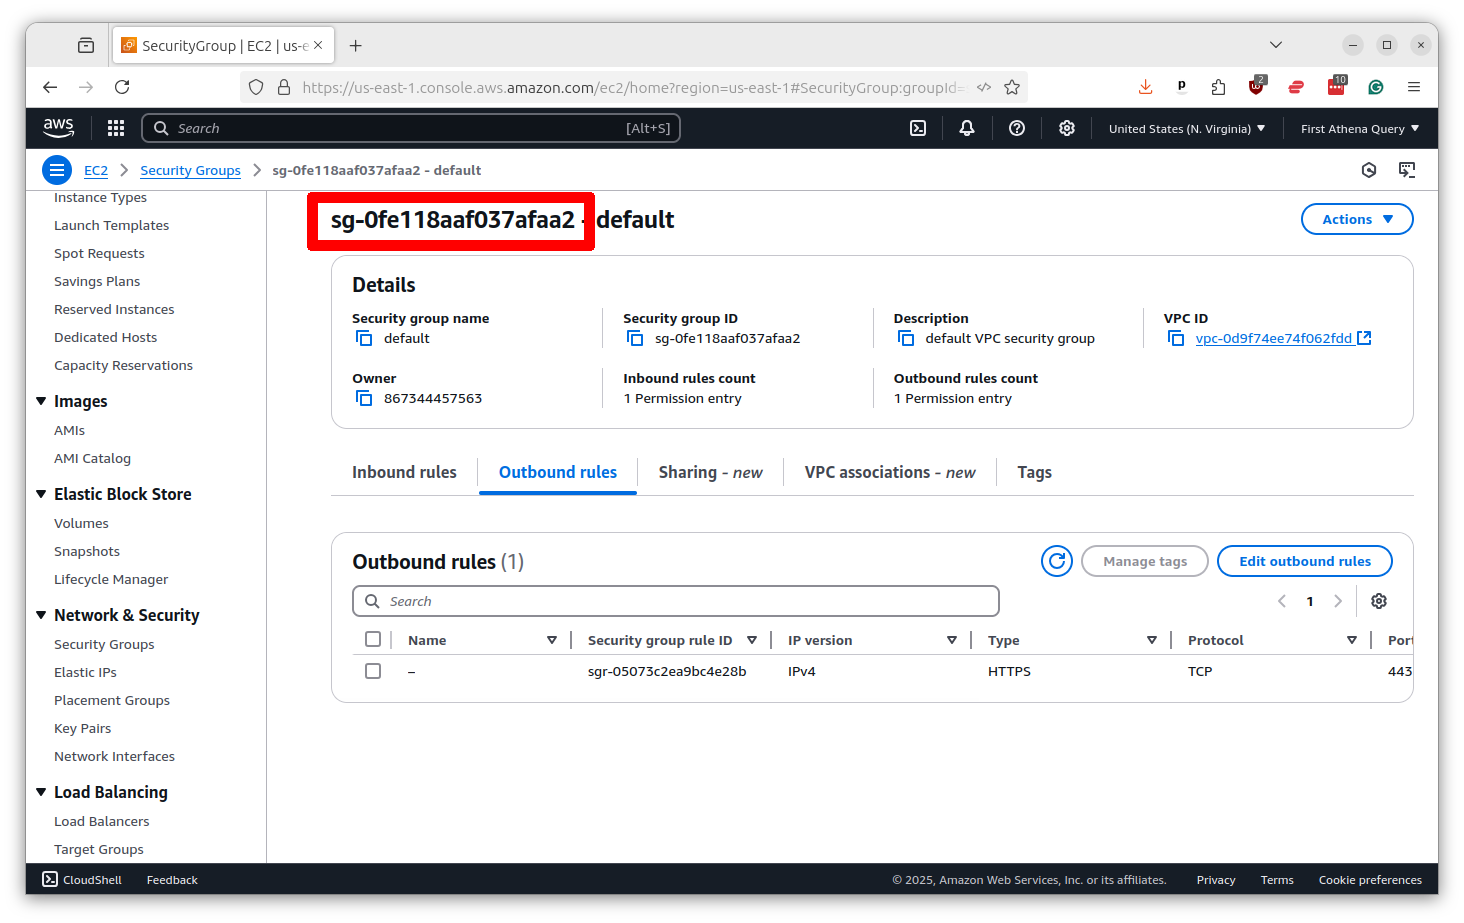
Before you go we need to save the security group ID for later. You will find it at the top of the profile page. Copy and paste it to the same place you saved the subnet ID.
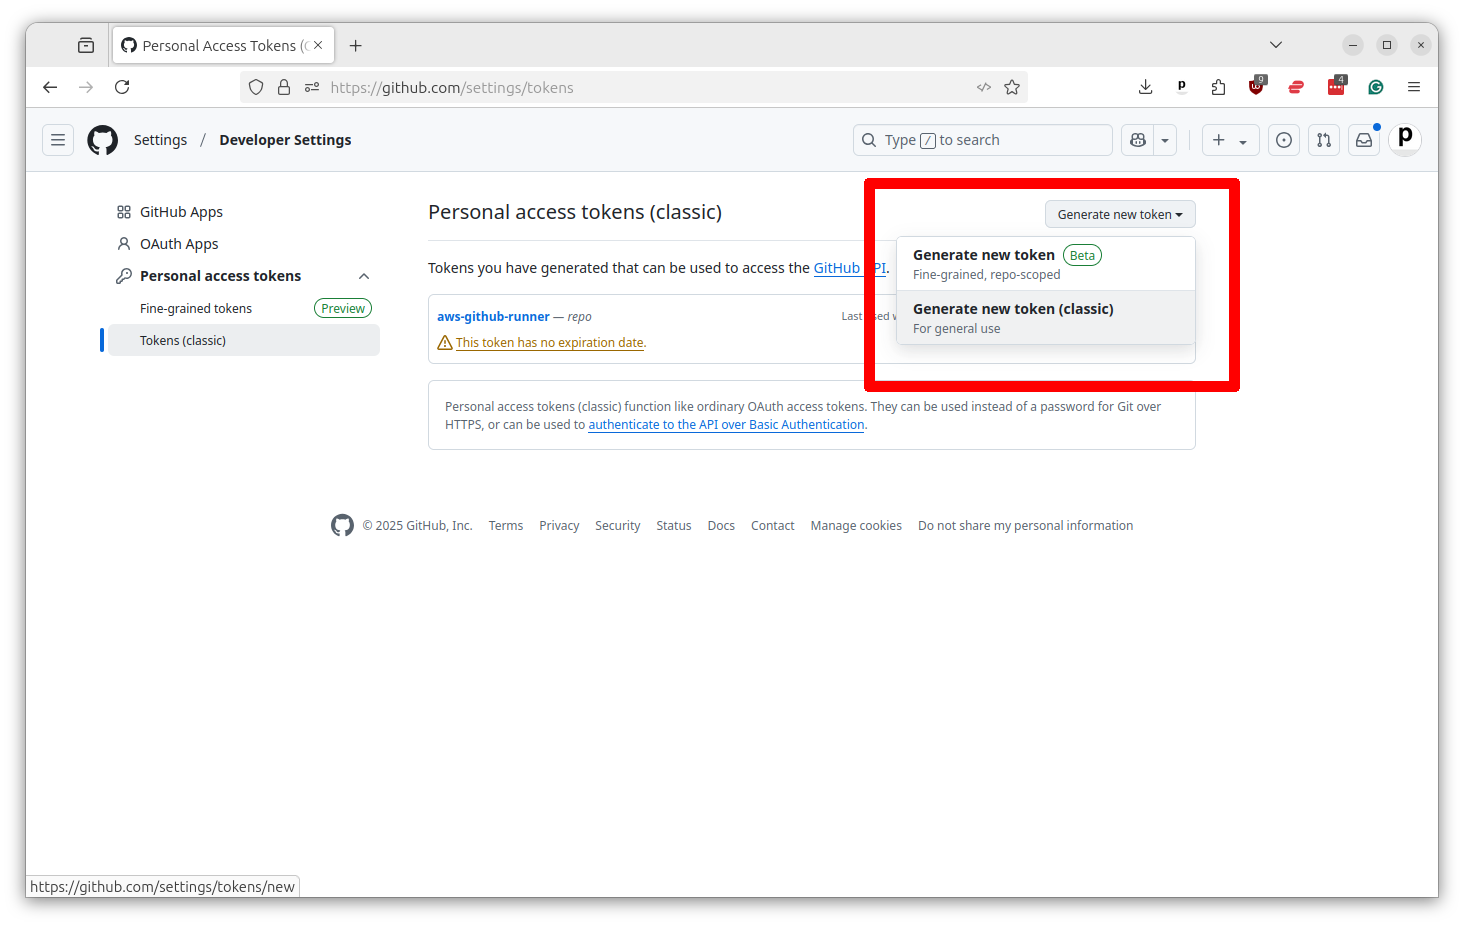
Now we need to create a Personal Access Token, or PAT, that will allow GitHub to access your EC2 servers. This is done by going to your GitHub profile page and clicking on “Settings” and then selecting the “Developer settings” link at the bottom of the left-hand menu. You’ll then want to select the “Tokens (classic)” option from under “Personal access tokens” in the left-hand menu.
You can jump there directly by visiting github.com/settings/tokens

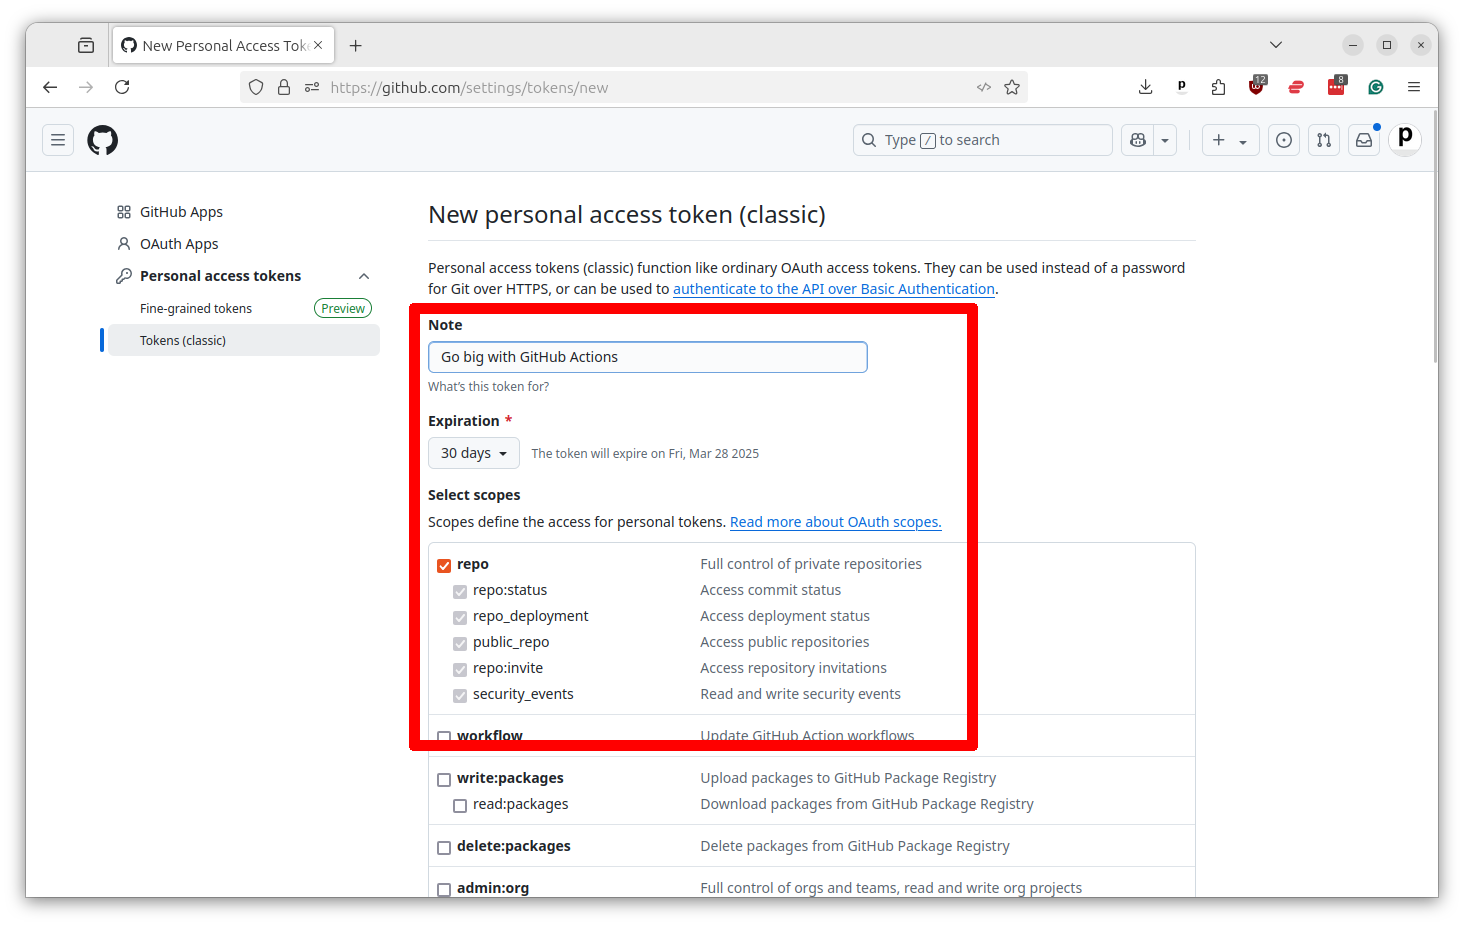
Click on the button that says “Generate new token” and select the “classic” option.
Give your token a name and then select the “repo” checkbox, which will provide the necessary permissions. If you want to use this Action for a significant time period, you should extend the expiration date beyond the default of 30 days.
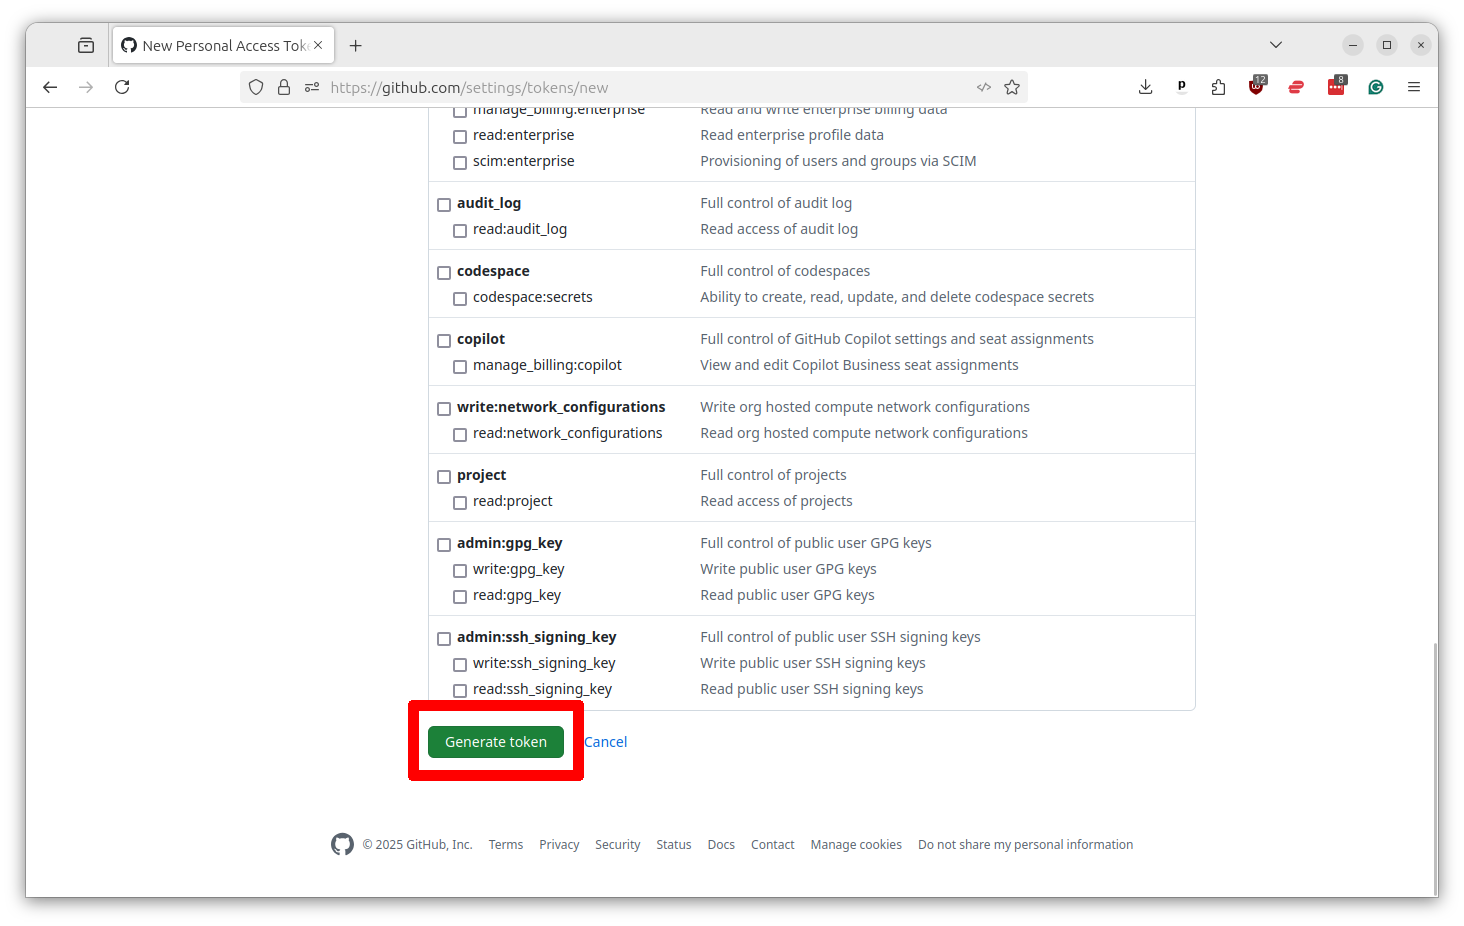
Scroll to the bottom and select “Generate token.”
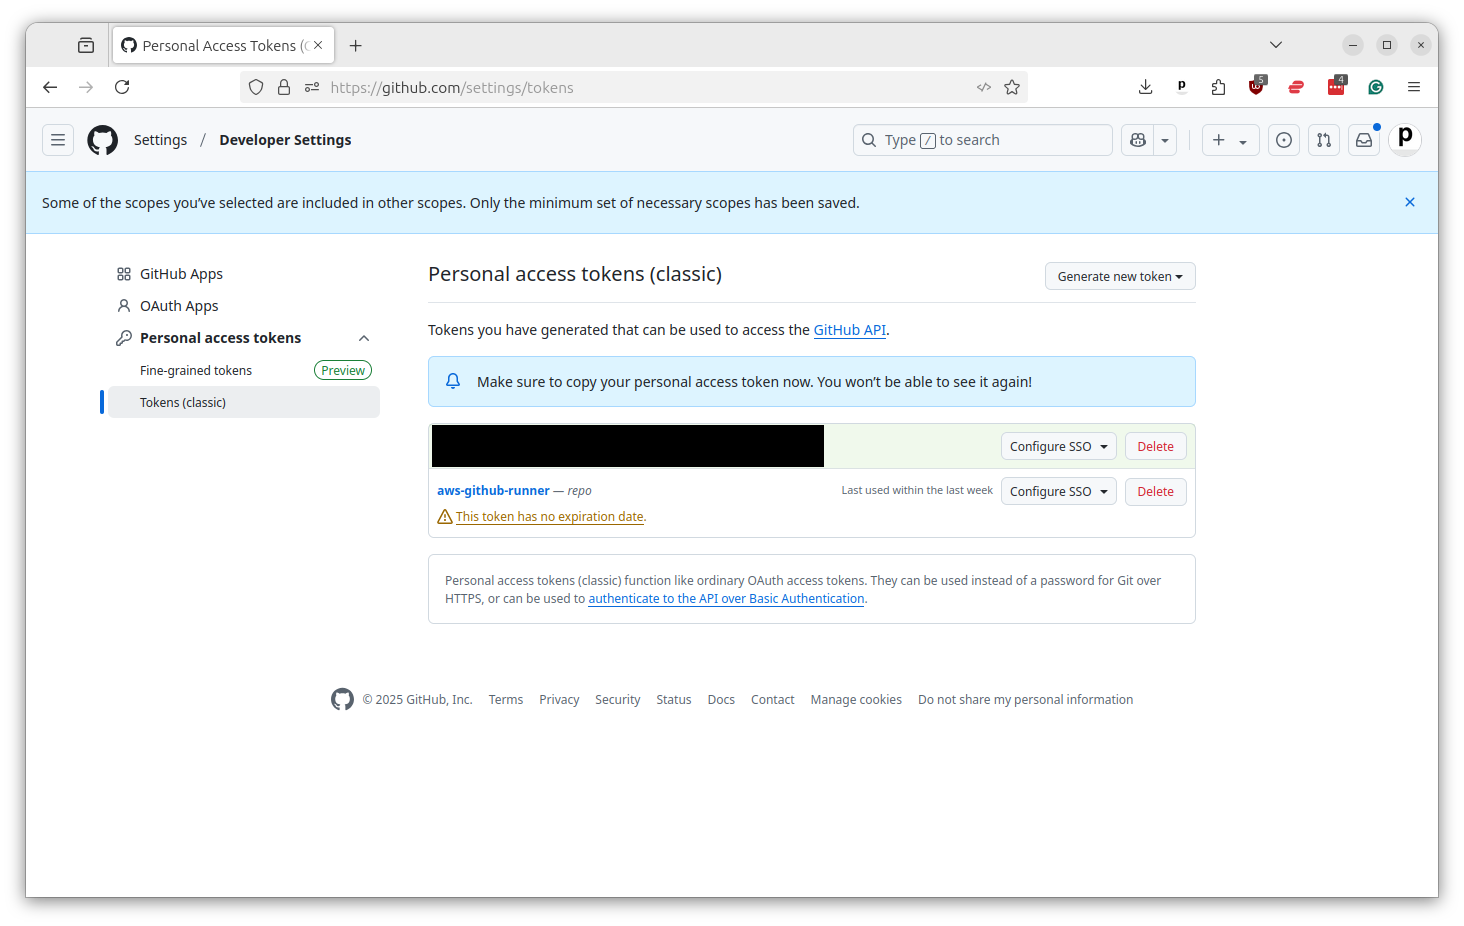
That will print out your token. Copy and paste it into the same text file where you saved your other secrets. You will not be able to see it again. I’ve redacted mine in the screenshot for security.
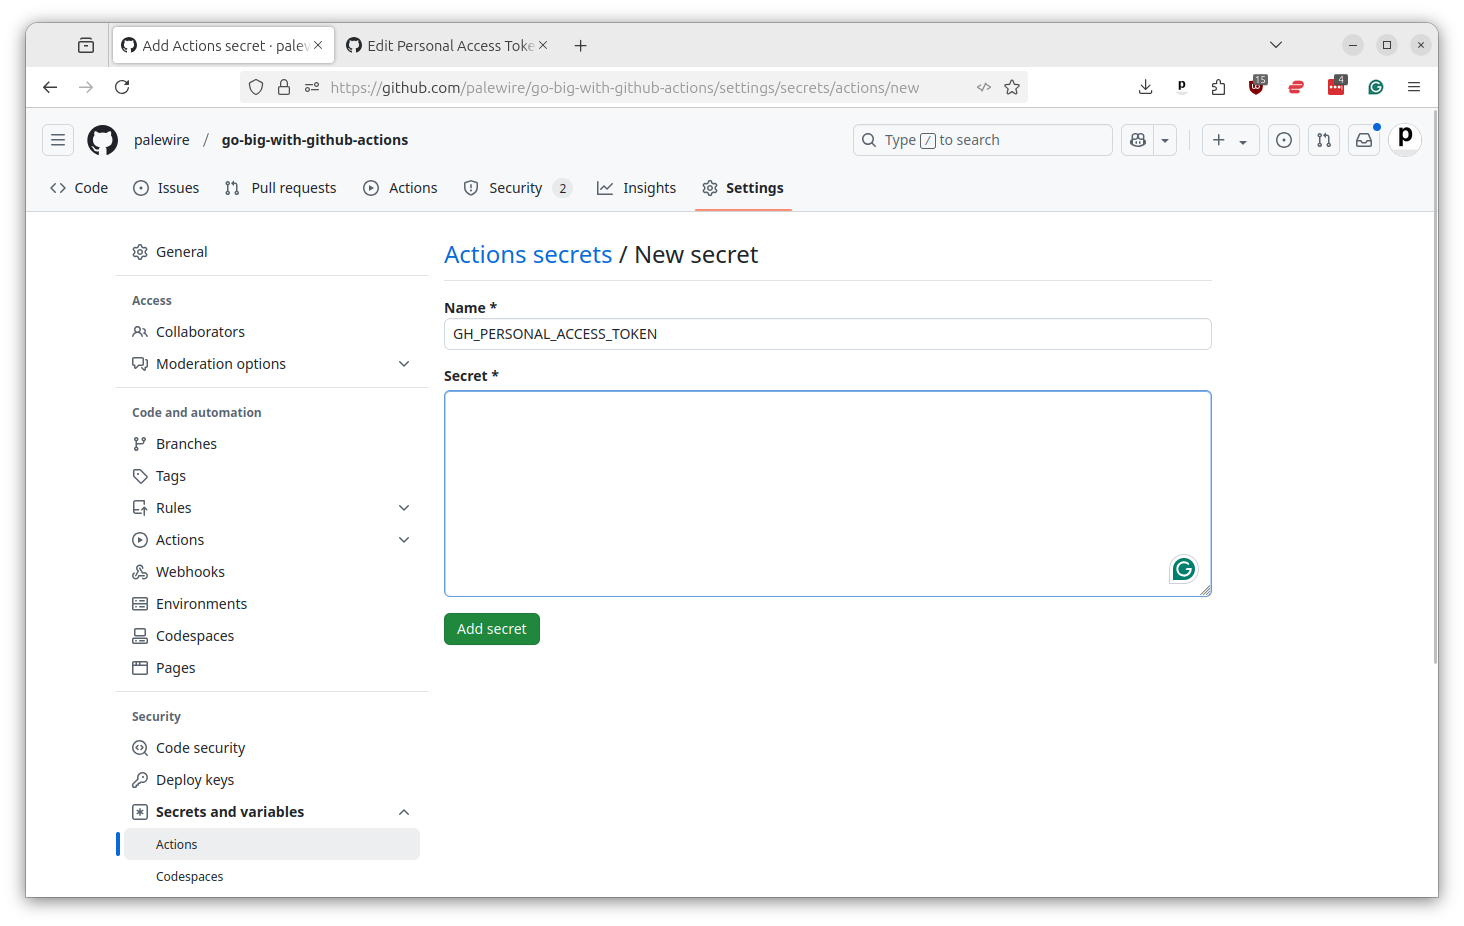
Now all of these secrets need to be saved in your repository’s settings. You can do this by going to the repository’s main page and clicking on the “Settings” tabs. Then select “Secrets and variables” from the left-hand menu and then “Actions.”
You should then see a button that says “New repository secret.” Click it.
You’ll want to add three variables, one by one, from the text file where you’ve saved your secrets.
First, the personal access token from GitHub should go in as GH_PERSONAL_ACCESS_TOKEN.
Then you should do the same thing by adding your AWS access key ID as AWS_ACCESS_KEY_ID and you AWS secret access key as AWS_SECRET_ACCESS_KEY.
Phew. After all that, you’re finally ready to run your first Action on EC2.
There are a number of different ways to connect outside servers to Actions. We are going to use a set of shortcuts packaged up in the Actions marketplace by Volodymyr Machula.
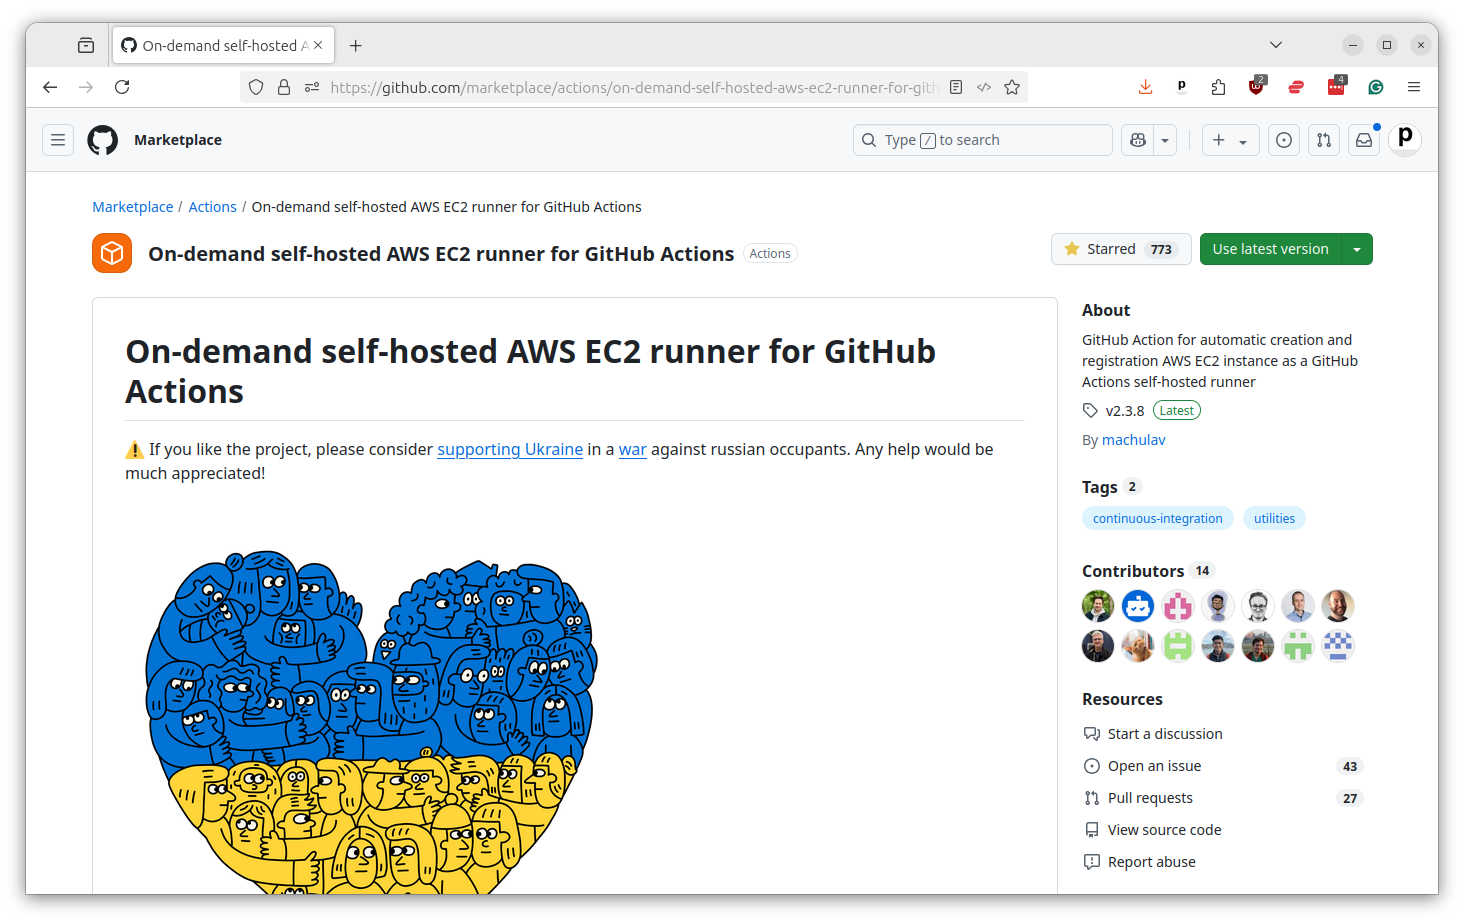
I’ve worked through his documentation and created a template for your start with. It’s available in this tutorial’s repository as reusable-ec2-job.yaml.
This form of workflow is what GitHub called a “composite” action. That means that other actions can call on it without having to reproduce all of its code. This is a great way to reduce redundancy when you doing the same thing in more than one workflow.
name: 'Reusable workflow: Custom EC2 runner'

on:
  workflow_call:
    inputs:
      command:
        description: 'The terminal command to run'
        required: true
        type: string
      aws_region:
        description: 'The AWS region to use'
        type: string
      aws_subnet_id:
        description: 'The AWS subnet ID to use'
        type: string
      aws_security_group_id:
        description: 'The AWS security group ID to use'
        type: string
      ec2_image_id:
        description: 'The AMI ID to use'
        type: string
      ec2_instance_type:
        description: 'The EC2 instance type to use'
        type: string
      timeout_minutes:
        description: 'The timeout in minutes for the job'
        type: number

jobs:
  start-runner:
    name: Start self-hosted EC2 runner
    runs-on: ubuntu-latest
    outputs:
      label: ${{ steps.start-ec2-runner.outputs.label }}
      ec2-instance-id: ${{ steps.start-ec2-runner.outputs.ec2-instance-id }}
    steps:
      - name: Configure AWS credentials
        uses: aws-actions/configure-aws-credentials@v5
        with:
          aws-access-key-id: ${{ secrets.AWS_ACCESS_KEY_ID }}
          aws-secret-access-key: ${{ secrets.AWS_SECRET_ACCESS_KEY }}
          aws-region: ${{ inputs.aws_region }}

      - name: Start EC2 runner
        id: start-ec2-runner
        uses: machulav/ec2-github-runner@v2.4.2
        with:
          mode: start
          github-token: ${{ secrets.GH_PERSONAL_ACCESS_TOKEN }}
          ec2-image-id: ${{ inputs.ec2_image_id }}
          ec2-instance-type: ${{ inputs.ec2_instance_type }}
          subnet-id: ${{ inputs.aws_subnet_id }}
          security-group-id: ${{ inputs.aws_security_group_id }}
          pre-runner-script: |
            sudo yum update -y && \
            sudo yum install docker -y && \
            sudo yum install git -y && \
            sudo yum install libicu -y && \
            sudo systemctl enable docker

  run:
    name: Run
    needs: start-runner
    runs-on: ${{ needs.start-runner.outputs.label }}
    timeout-minutes: ${{ inputs.timeout_minutes }}
    steps:
      - name: Checkout
        uses: actions/checkout@v6

      - name: Run
        run: ${{ inputs.command }}

  stop-runner:
    name: Stop self-hosted EC2 runner
    needs:
      - start-runner
      - run
    runs-on: ubuntu-latest
    if: ${{ always() }}
    steps:
      - name: Configure AWS credentials
        uses: aws-actions/configure-aws-credentials@v4
        with:
          aws-access-key-id: ${{ secrets.AWS_ACCESS_KEY_ID }}
          aws-secret-access-key: ${{ secrets.AWS_SECRET_ACCESS_KEY }}
          aws-region: ${{ inputs.aws_region }}

      - name: Stop EC2 runner
        uses: machulav/ec2-github-runner@v2.4.2
        with:
          mode: stop
          github-token: ${{ secrets.GH_PERSONAL_ACCESS_TOKEN }}
          label: ${{ needs.start-runner.outputs.label }}
          ec2-instance-id: ${{ needs.start-runner.outputs.ec2-instance-id }}
We won’t walk through every detail of what’s happening in the file, but here’s a quick overview. At the top we define a setting known as workflow_call, which will define the inputs that other workflows will need to provide when they call on this one. We’ll fill these in later on when we create a workflow that uses this reusable action.
  workflow_call:
    inputs:
      command:
        description: 'The terminal command to run'
        required: true
        type: string
      aws_region:
        description: 'The AWS region to use'
        type: string
      aws_subnet_id:
        description: 'The AWS subnet ID to use'
        type: string
      aws_security_group_id:
        description: 'The AWS security group ID to use'
        type: string
      ec2_image_id:
        description: 'The AMI ID to use'
        type: string
      ec2_instance_type:
        description: 'The EC2 instance type to use'
        type: string
      timeout_minutes:
        description: 'The timeout in minutes for the job'
        type: number
The command input will be what this example workflow runs on the EC2 instance. In a real-world example, a single line of code may not be sufficient. You’ll see later on where you could add additional steps for more complex tasks.
The aws_region is the unique identifier of the Amazon data center where you want to run your EC2 instance. Unless you changed it when you logged into your Amazon console, it should be the default of us-east-1, which corresponds to the Virginia data center.
You can see that I’ve created options for our Amazon VPC and security group, as well as a few other things you may not recognize.
The ec2_image_id will expect the unique indentifier of the operating system that Amazon will install on the server, which is commonly known as the AMI.
The ec2_instance_type expects you to specific the size of the server to start up. You can find the menu of available hardware on the Amazon site.
The timeout_minutes option is how long you want to give the job to run before it times out.
After that, the workflow is essentially a three step process. The first step is to use a traditional Actions server to connect with Amazon and fire up a new EC2 instance with your specificed configuration. This example assumes you are using a machine image based on Amazon Linux 2023. If you end up using an image on another operating system, you will need to change the pre-runner-script to install the dependencies necesary to communicate with GitHub and run Actions.
  start-runner:
    name: Start self-hosted EC2 runner
    runs-on: ubuntu-latest
    outputs:
      label: ${{ steps.start-ec2-runner.outputs.label }}
      ec2-instance-id: ${{ steps.start-ec2-runner.outputs.ec2-instance-id }}
    steps:
      - name: Configure AWS credentials
        uses: aws-actions/configure-aws-credentials@v5
        with:
          aws-access-key-id: ${{ secrets.AWS_ACCESS_KEY_ID }}
          aws-secret-access-key: ${{ secrets.AWS_SECRET_ACCESS_KEY }}
          aws-region: ${{ inputs.aws_region }}

      - name: Start EC2 runner
        id: start-ec2-runner
        uses: machulav/ec2-github-runner@v2.4.2
        with:
          mode: start
          github-token: ${{ secrets.GH_PERSONAL_ACCESS_TOKEN }}
          ec2-image-id: ${{ inputs.ec2_image_id }}
          ec2-instance-type: ${{ inputs.ec2_instance_type }}
          subnet-id: ${{ inputs.aws_subnet_id }}
          security-group-id: ${{ inputs.aws_security_group_id }}
          pre-runner-script: |
            sudo yum update -y && \
            sudo yum install docker -y && \
            sudo yum install git -y && \
            sudo yum install libicu -y && \
            sudo systemctl enable docker
The second step is to run the command you want. But unlike the first, it will be run inside the custom EC2 runner, not in one of GitHub’s servers. Notice that it is able to checkout your repository and run any command you want.
  run:
    name: Run
    needs: start-runner
    runs-on: ${{ needs.start-runner.outputs.label }}
    timeout-minutes: ${{ inputs.timeout_minutes }}
    steps:
      - name: Checkout
        uses: actions/checkout@v6

      - name: Run
        run: ${{ inputs.command }}
If you wanted to take on more sophisticated tasks in your custom server, you could additional steps there that could do things like install Python or another programming language, fire up a database or run a series of scripts.
And then third step is to shut down the server when you’re finished. It will run whether the job succeeds or not.
  stop-runner:
    name: Stop self-hosted EC2 runner
    needs:
      - start-runner
      - run
    runs-on: ubuntu-latest
    if: ${{ always() }}
    steps:
      - name: Configure AWS credentials
        uses: aws-actions/configure-aws-credentials@v5
        with:
          aws-access-key-id: ${{ secrets.AWS_ACCESS_KEY_ID }}
          aws-secret-access-key: ${{ secrets.AWS_SECRET_ACCESS_KEY }}
          aws-region: ${{ inputs.aws_region }}

      - name: Stop EC2 runner
        uses: machulav/ec2-github-runner@v2.4.2
        with:
          mode: stop
          github-token: ${{ secrets.GH_PERSONAL_ACCESS_TOKEN }}
          label: ${{ needs.start-runner.outputs.label }}
          ec2-instance-id: ${{ needs.start-runner.outputs.ec2-instance-id }}
This is a very important step. Why? Because if you forget to shut down the server, it will keep running and you will be charged for it. Amazon charges by the hour, so if you leave a server running unmonitored you could soon end up with a hefty bill. It’s a good idea to routinely check in on the AWS console to make sure you don’t have any servers running that you forgot about. You can do that by going to the EC2 panel and selecting “Instances” from the left-hand menu. Any orphaned servers can be terminated from there.
You could copy that complete file into your repository’s .github/workflows directory alongside your other actions and give it aname like reusable-ec2-job.yaml.
Now the final step is to create a workflow that will call on this reusable action. You can do that by creating a new file in the same directory with a name like ec2-job.yaml. The contents of that file should look something like the follow. You’ll want to customize the line that inherits our reusable action to match your repository name and branch.
name: "EC2 custom runner"

on:
  workflow_dispatch:

jobs:
  pipeline:
    uses: palewire/go-big-with-github-actions/.github/workflows/reusable-ec2-job.yaml@main
    secrets: inherit
    with:
      command: echo 'Hello world'
      aws_region: us-east-1
      aws_subnet_id: subnet-04b767d962c0efdff
      aws_security_group_id: sg-0fe118aaf037afaa2
      ec2_image_id: ami-0f37c4a1ba152af46
      ec2_instance_type: m8g.xlarge
      timeout_minutes: 4320
For this example, I’m submitting a rudimentary command that simply prints “Hello world” to the console. You can replace that with any command you want, including a script that runs a complex analysis or builds a large dataset.
I’ve put in my Amazon configuration options to aws_region, aws_subnet_id and aws_security_group. You could put these values into your secrets if you wanted to keep them private. I’m putting them because I plan to terminate them soon after this tutorial is finished.
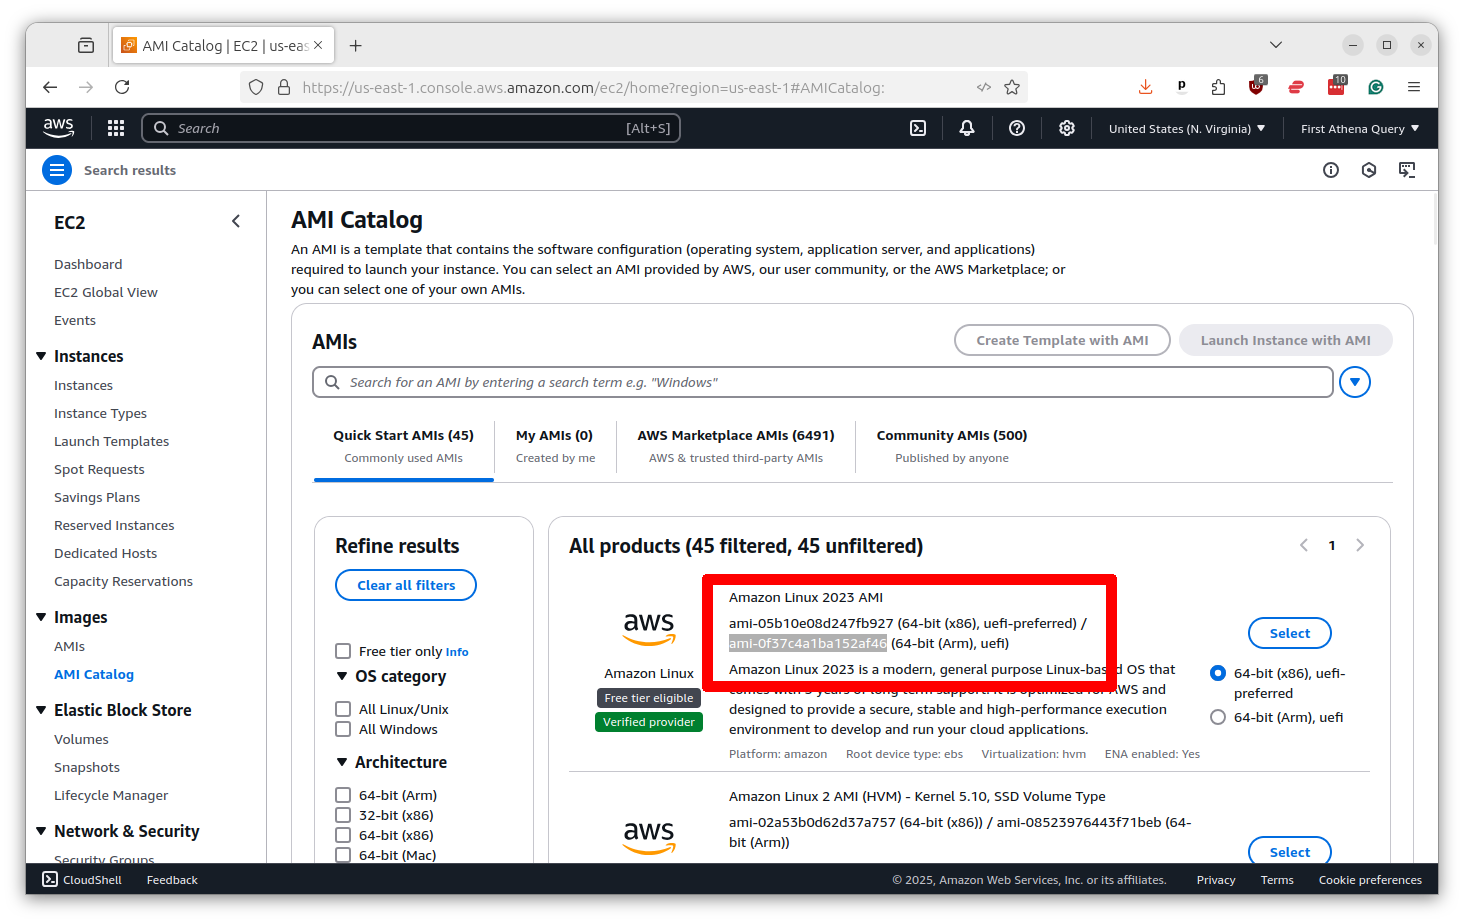
In the ec2_image_id field, I’ve put in the ID of the Amazon Linux 2023 AMI that I found in the Amazon’s “AMI Catalog,” which you can find by searching the term in the bar at the top of the console. I found it by picking the ARM variation of the first option in the list.
The ec2_instance_type is the size of the server. I picked the m8g.xlarge option, which is a good balance between price and performance. But you can rev up to as many as 96 CPUs if you like.
Finally, I set the timeout_minutes to 4320, which is three days. You can set it to whatever you want, but be careful not to set it too high or you could end up with a big bill if the server never stop.
Once you’ve saved this file and committed to your repository, it’s now ready to be called from the Actions tab like any other. You’ll see it execute as a three-step process, just like our YAML config suggests, with second step happening over on EC2.
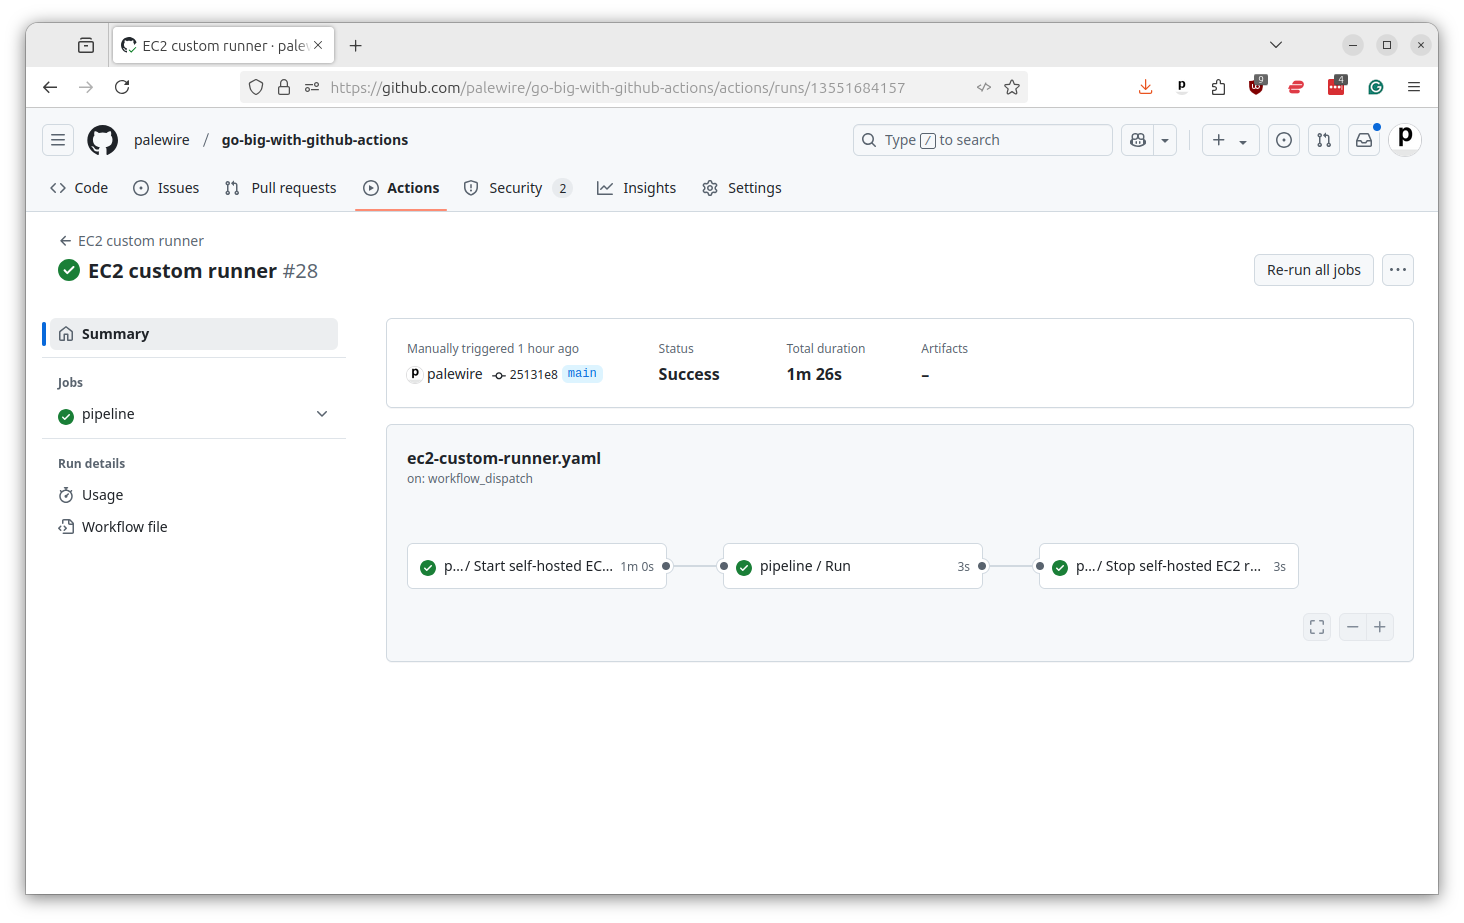
And that’s it. You now have a custom EC2 runner that can be used to run any command you want one whatever server you want for as long as you want.